Showing posts with label Alphabetizing. Show all posts

Friday, October 17, 2014

Magnetic ABC Ocean


There's just something about magnets. Kids love 'em. My boys are no exception.

I made a fun way for my 5-year-old to practice letter recognition using two magnets. This is an easy, low- or no-cost activity that's great for working on the alphabet or even spelling.


Supplies
Disposable dinner-sized paper plate
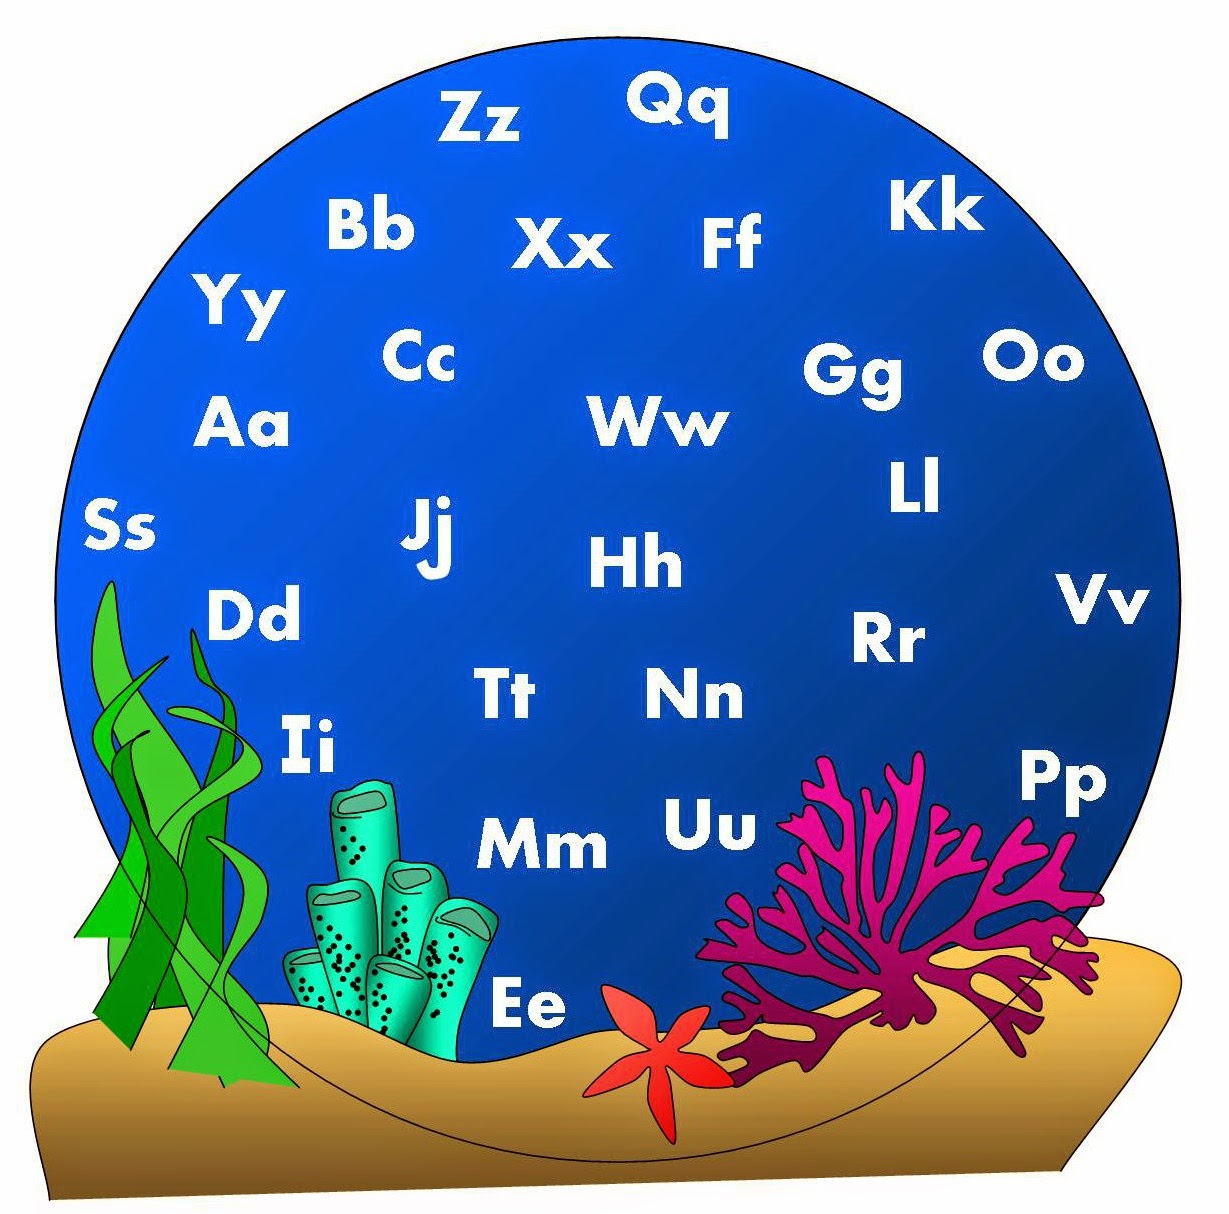
Ocean scene (download the one I made as a free PDF here)
Sticker paper (or regular office paper and a glue stick)
Two magnets (one decorated with a fish button, sticker, etc.)
Scissors

Assembly
Print the ocean scene and cut it along the circle guideline. Attach to your paper plate.


How to Play
Put the fish magnet on top of the ocean scene, and the other magnet under the plate. By moving the bottom magnet, your child will be able to make the fish swim from one letter to the next in the ocean.

You can call out the letters in the alphabet, have them move the fish through the letters in their name, or even practice their spelling words.


This is surprisingly captivating and held my young son's attention much longer than I anticipated. When he grew weary, we read two great books.

Wednesday, December 18, 2013

Nesting Spoons: Upper and Lower Case Letter Matching


Flash cards have never been one of my favorites. My oldest son shares my sentiments. So when I saw this great idea for alphabet spoons on From Kindergarten With Love, I knew it would be a great way to work with my youngest son on letter recognition.

This activity is inexpensive and comes together quickly.

What You Need
26 White plastic disposable spoons
26 Clear plastic disposable spoons
Upper case and lower case letter stickers (or good handwriting and a Sharpie)

Adhere the upper case letters to the white spoons toward the tip of the spoon. Adhere the lower case letter stickers to the bottom part of the clear spoons.

Now determine, based on your child's readiness, how many pairs of spoons to play with. My son and I worked on the first half of the alphabet (a-m). He was overwhelmed, so I separated the upper and lower case spoons to make it easier.

These can easily slip into a plastic zipper-sealed bag for a great take-along game. And for kids proficient in letter work, can be used for alphabetizing practice!


Want a great book to accompany this activity? We like Alphabet Mystery!

Friday, October 12, 2012

Secret Message Spelling Practice

Wow. My son's doing the challenge list of spelling words at school. Let's just say this momma got pretty comfortable working on only a few troublesome words a week. 

Now the entire list is troublesome (a second grader spelling migration?)!! Good thing my son is up for the challenge ... and it's a good thing I am too!

My secret-code lovin' boy had a lot of fun with this spelling practice activity. While it took a little prep and a small prize I'd purchased at Target, it was worth the small investment I made. Here's how to get it ready:

  1. Grab 26 index cards and in bold marker write one letter of the alphabet on each.
  2. Look at your son/daughter’s spelling word list. What words did he/she miss on the pretest? Pick four of the most challenging words for secret message spelling practice.
  3. Count each letter in those words (NOTE: if words repeat letters, count them each time they appear).
  4. The total number of letters is the number of words long your secret message must be. Get creative!
  5. Once you’ve written your message, begin writing one word on the back of each letter card so that as the child spells the word, the message begins to reveal itself. Note: I numbered the words so that letters from the first word were preceded by a numeral one. If the letter is used more than once, put the second (or even third word) on a line below the other(s).

EXAMPLE SPELLING WORDS
Accept
Straight
Business
Tomorrow
(30 letters total in four spelling words) 

EXAMPLE SECRET MESSAGE
Spelling is hard and practice is boring. Think hard! When you spell correctly, a prize is yours. Get yourself something sweet and there you’ll find a different kind of treat.
(30 words in the surprise phrase)

PLAY
Give the child the index cards and ask that they first put them in alphabetical order, and then lay them out so each is visible.


Call out the first spelling word to your child in the predetermined order (remember, you must call the words in the same order that you used during preparation). Have your son/daughter write the spelling word down on a piece of paper (1.). When they’ve spelled the word, have them turn over the letter cards to match what’s written on the paper (2.).

Have them record the words they see and turn the card back over (3.). Oops! If there’s no word on the back, or no word with the right numeral (i.e. the number one when you’re on the first word), a spelling error has occurred. Have your son/daughter draw a line through the word on the back of the cards after they've used it to avoid confusion if letters are repeated.


Encourage your child with clues to correct the misspelling. Keep going and call out the second spelling word. Repeat the process until the secret message has been revealed (our message was a clue that led my son to a hidden prize).

TIP
I used pencil to write the secret message words on the back of my index cards. Simply erase away the old words and it’s time for next week’s challenge words and a new secret message.

Friday, August 17, 2012

Alphabetical Adjectives Connect the Dots


I’m a writer. My son is not. But that hasn’t stopped me from trying to sharpen his language arts skills.

This word nerd came up with a sneaky way to do it, too: connect the dots!

To jog my son’s memory that adjectives are describing words, we read a Brian P. Cleary book. Hairy, Scary, Ordinary: What is an Adjective? is fun and engaging language arts literature at its best.


The illustrations are clever and whimsical and the text is chock full of adjectives which are set off with color (the rest of the words are black). So far, every book from Cleary’s Words Are CATegorical series has been a hit with my son and me.

For a little adjective practice, I made a great puzzle.

Download a PDF of this connect-the-dots puzzle here.

The instructions were simple – start at the red star and connect the lowercase adjectives alphabetically. When you get to “z,” start over with uppercase adjectives until you’re back where you started. Lastly, connect the square dots drawing a line from number to number starting at one black star and ending at the other.


My son did quite well. He only had to use the eraser a few times and, when finished, he was so proud of his songbird connect-the-dots picture! (This mama writer was mighty proud too.)


Friday, April 13, 2012

Practicing Pronouns with Roy Orbison


As I was leaving my son’s classroom the other day after volunteering, I heard the teacher talking to the kids about pronouns. Uh oh, I thought. Knowing how the other parts of speech have been hard for my son to distinguish, I immediately began brainstorming … and Googling.

Using a song to identify pronouns wasn’t my idea; it originated from a Prentice Hall series of worksheets I found here.

When my son came home, we watched a Schoolhouse Rocks video to jog his memory about what words are pronouns and when/how they’re used.


Then I gave him some small pronoun cards, which he put in alphabetical order.


Now I played the Roy Orbison song “Running Scared.” (I found it on YouTube. He didn’t watch, but rather just listened.)


It was my son’s job to pull out the cards with pronouns he heard in the song. He listened twice to be sure he’d found them all.


Then I gave him the lyrics I’d typed up. He circled every occurrence of the pronouns in the song.


Lastly, he graphed the pronouns to see which Orbison sang the most. My son LOVES graphing and always treats it like a contest to see which word, number, or object will win. It was a tie!


Download a PDF of the pronoun cards and graph here. Click on the lyrics to download them.

Friday, February 3, 2012

Let’s Play Library! [An Alphabetizing & Sequencing Activity]


Children’s librarians tirelessly go through the shelves day in and day out to reorganize the books kids carelessly pull out and shove back in at some other totally random spot. I cannot imagine how frustrating it must be! The school gives kids paint sticks to mark where they removed the book so it can be returned to the same spot if necessary, but not every kid grabs one and sooner or later they’ll all have to be able to figure out the books’ rightful place – including my son.

Before he got started with the library-inspired activity I made, we read a sweet book about library puppets (used during story time) that come to life when the lights go out. It put us in the mood for our own imaginary trip to the library.


When the story was finished, I gave my son some laminated “books” I’d made. On several were written the author’s names with a fine-tip dry-erase marker; the rest had card catalog numbers.

Download a 2-page PDF of these book spines here.

I asked my son which were fiction and which were non-fiction books. He wasn’t sure.

I explained that at the library, fiction books were shelved alphabetically by the author's last name. Non-fiction books were shelved by card catalog numbers.

He promptly sorted the books into two piles – those with authors (fiction) and those with numbers (non-fiction).


Now I told him to put them in order.

He looked at the card catalog numbers on the non-fiction books, and put the book with the smallest numbers first and the largest numbers at the end of our imaginary shelf.


He alphabetized the fiction books by the first (and sometimes second) letter of the author’s last name.

Books with numbers like 145.21 and 110.4 tripped him up a bit. I explained that you focus first on the digits in front of the decimal. 

“Which number is smaller: 145 or 110?” That was easy for him.

My son beamed with pride when all the books were reshelved in the right order!

Maybe he’s a future librarian.

Monday, September 19, 2011

GO NUTS! (Mixed Nuts Sort, Tally, & Taste)


This activity is near and dear to my heart. My grandfather was a nut grower. I remember playing in the basement of his home with a variety of small metal nut-cracking devices of various sizes; I was in awe of their mechanical inner-workings.

There were always nuts at my grandma and grandpa’s house. Now that I’m grown up, nuts are a pantry staple at my house too. Both my sons (and husband) love them. To make snack time into math time, I created an activity with a can of Planter’s mixed nuts.

1. Alphabetize names of nuts.
First, I gave my son six identification cards with photos and pictures of each variety of nut from the mix. I asked him to put the cards in order, alphabetizing them by the names of the nuts. (Download the nut ID cards I made here.)

2. Sort nuts.
Then I put a ½ cup of mixed nuts on a plate and told my son to sort the nuts, putting each nut in the little bowls I’d placed on top of the ID cards.


3. Tally each kind of nut. Skip count the tally marks.
Next, I poured each type of nut out and then dropped it back into its bowl, while my son made tally marks on his worksheet. To help him I counted, “I, 2, 3, 4, cross through on 5.” When done making tally marks, he skip counted by 5s to determine how many nuts of that kind there were and recorded the number on his worksheet, answering “how many?” for each type of nut.

4. Write the names of nuts in order from greatest to least number of nuts.

5. Taste each. Write the names of nuts in order from yummiest to yuckiest.
My son took his time tasting each and judged their flavor critically; I was shocked at how insistent he was in getting the order right (NOTE: at this point I was thinking, "oh goody, all the brazil nuts are mine, mine, mine!").


When he had completed the activity, he looked at me matter-of-factly and told me that when his little brother got old enough, I should do this activity with him; it was THAT cool!

Download the answer sheet I made here and watch your kid(s) GO NUTS!

WARNING: Obviously, if you child has a nut allergy, this activity should be avoided.

Friday, May 20, 2011

Alphabetize Surprise

The supply list for this activity is pretty short: index cards, two different colored markers, a lollipop, and a print-out of the entire alphabet. My son knows the alphabet, but I wasn’t sure how he’d do alphabetizing; I decided to find out. On 14, 3- by 5-inch index cards, I wrote a series of simple words, each starting with a different letter, in black marker. I underlined the first letter of each word.

Then, I put them in alphabetical order and on the back of each card, wrote one word of the following sentence using a colored marker: “Red, orange, or blue – which lollipop will you choose? I have one for you.” (I wrote the words in two different colors so he wouldn’t get confused about which words to alphabetize.) Then I shuffled the cards.


When my son got home from school, I gave him a printed page with all the letters of the alphabet and two of the shuffled index cards. He read the words on each of the two cards and then I asked him which letter at the start of the words came first in the alphabet. After finding the letters on our ‘cheat sheet’ and putting the words in alphabetical order, I gave him another card … and another … and another. (I think you get the picture.)

Pretty soon, he had index cards stretching from one side of the kitchen table to the other. When he had them all alphabetized, I asked him to flip the cards over and read the surprise message on the back. He was thrilled! The tootsie pops were inexpensive and definitely worth every penny to have my son read 28 words without argument.

My son's reward was a lollipop, but mine was when he asked if we could do “Alphabetize Surprise” again tomorrow. Success!