Tuesday, July 31, 2012

Your Emotions are Written All Over Your Face [craft]


When I saw The Art Annex’s Silly Faces activity, I knew it was a future art project for my son. I pinned it until the time was right. Since my diagnosis with breast cancer, I’ve spent a lot of time thinking about its impact on my kids, particularly my almost-7-year-old son.

The time was right to do this project. It could open up a conversation about emotions -  how he’s feeling and how I am, too. Plus, it was just good old-fashioned fun. Before we got our art on, we read a wonderful book about feelings. I’d recommend it for kids of all ages – toddler on up.


Now I gave my son some fun scrapbooking papers to choose 
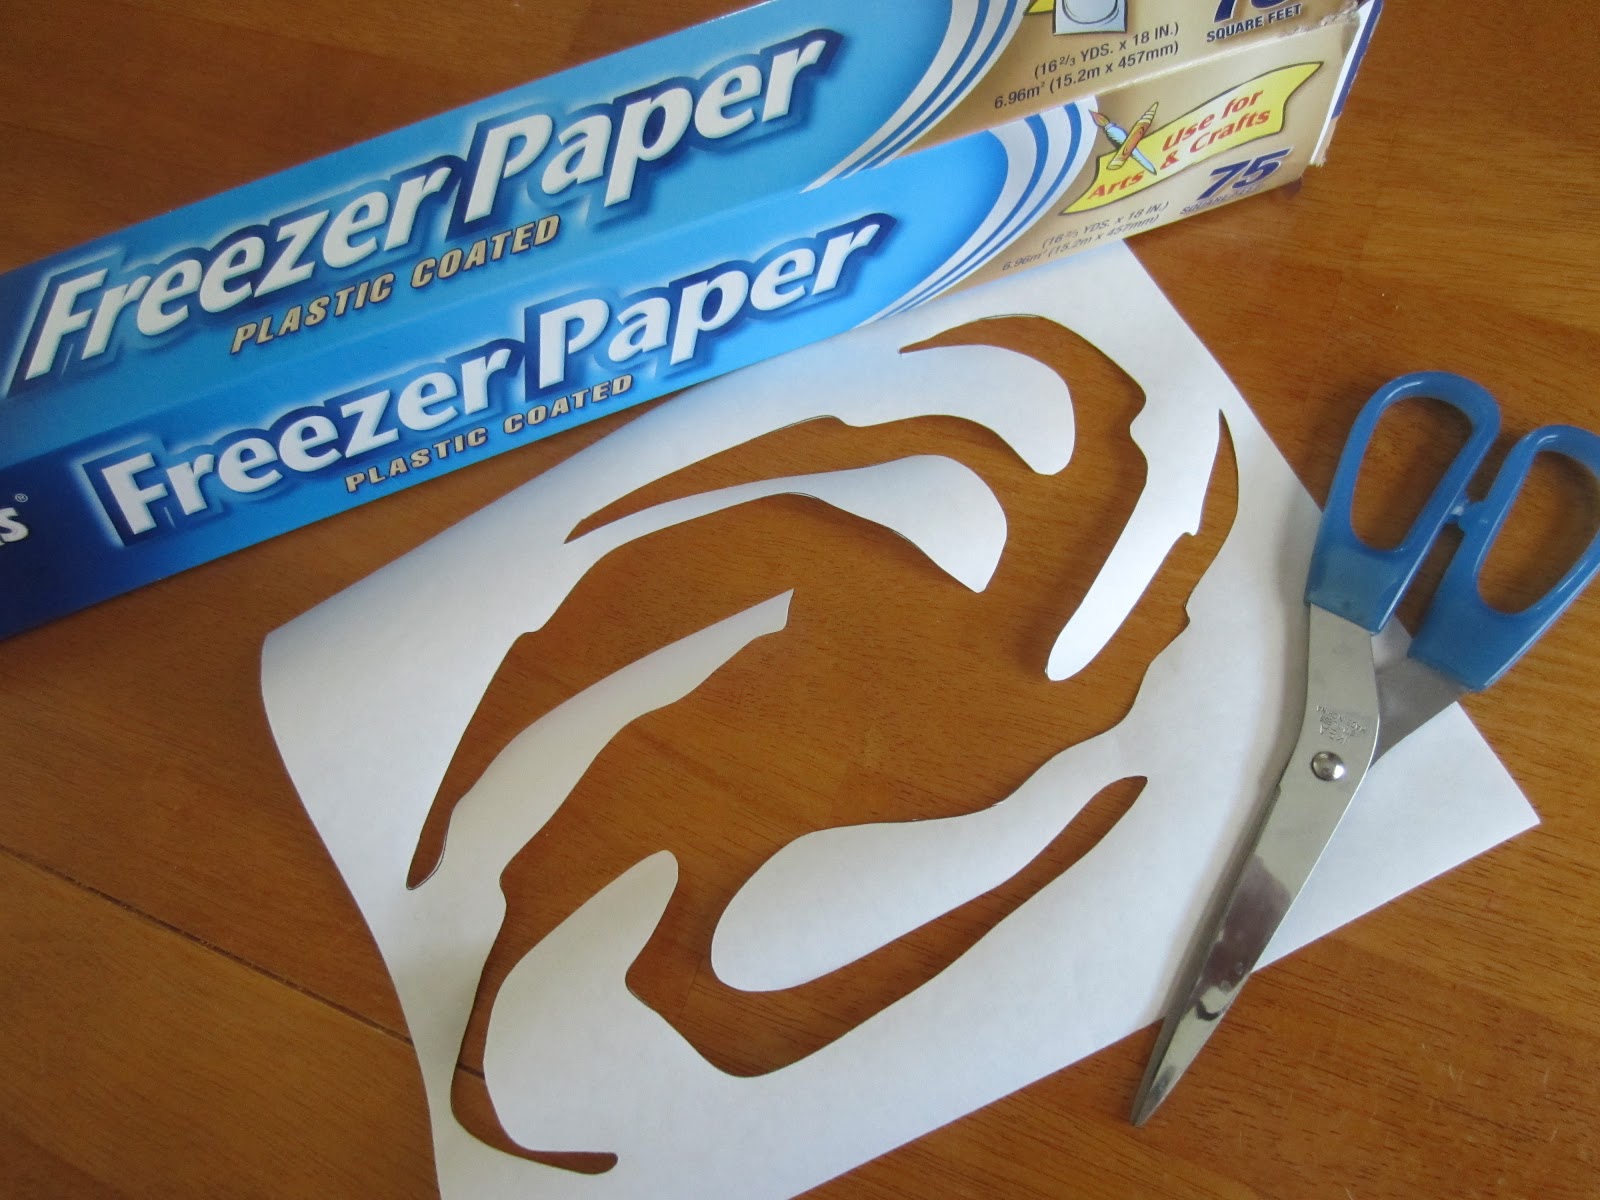
from for a background, a cut-out of a face, and some chipboard I’d cut from an empty cereal box.

Download a PDF of this face template here.

First, he drew hair on his head. I made one too, but used brown paper to replicate my bob hairstyle.

Now, he glued the patterned paper onto the chipboard and then glued the face in the center of it, using a glue stick.


I encourage you to visit Doris’ blog; she recommends using a hand drill and large plastic needles with an eye. Since I don’t have either, we made do without, but I’m sure these tools would have made the project easier.

Instead we used my husband’s cordless drill to poke holes in the face template’s open circles (6 for each face: 2 for each eye and 2 for the mouth).


When this was done, we clipped pieces of yarn and folded them in half. Then to make it easier to thread the yarn through the holes, I used some scotch tape at the ends (like the end of a shoestring). 


Once through the holes, I tied knots in the back, making sure to leave slack so the yarn eyebrows and mouth could be manipulated into a variety of expressions.


Lastly, we glued on some big googly eyes. The next day when the eyes were dry, we both played with our faces, going through a whole gamut of feelings. It was bonding at its best.


NOTE: If you’re not following Doris’ art blog, start now. There are SO many wonderful ideas on The Art Annex!!

Wednesday, July 25, 2012

Neighborhood Counting Walk


Who goes for a walk outside when it’s 97 degrees? Well … we do. Apparently, my son and I are both crazy.

Creative Family Fun posted such a great idea in June, I knew I had to give it a try. It seemed like just the kind of thing my son would love; I was right.

Stop and read the original post from Terri about the adventuresome Counting Walks she takes with her five year old daughter.

I love that this activity is just as much about exercising our observation and math skills as our bodies … AND it’s outside. Isn’t that what summer is all about: getting outdoors?

To work on tally marks and skip counting, I created a recording sheet for my son. Truth be told, I made two so we can do this again (hopefully when it's cooler).

Download a PDF of these cards here.

A ballpoint pen, clipboard, and bottle of water and we were off. My son made tally marks every time he saw one of the objects on the recording sheet. When we got home, he skip counted the tallies and wrote the number of each item down. Then on the back of the card, he put the items in order from least to greatest.


What did we see the least?
Dogs. (Apparently it was even too hot for them.)

The greatest?
Mailboxes.

Did we have fun?
Most definitely.

Sweat?
Boy, did we ever.

Friday, July 20, 2012

Out-of-this-World Bleached Galaxy Tee


I have seen so many amazing tee-shirts made with bleach on Pinterest. I figured my son and I would give it a go. The final result is out-of-this-world.

When my son got home from summer camp, we read Gail Gibbons’ book Galaxies, Galaxies! It shared loads of information about the different shaped galaxies in space and explained that the Milky Way is a spiral galaxy. This is SUCH a cool book. Seriously, how does Gibbons crank out so many wonderful non-fiction books for kids?!?!


When we were done reading, I told my son it was time to make a Milky Way galaxy tee shirt. “Are we painting it like my organs shirt?” he asked. “Nope.” He was curious AND psyched.


I gave him a piece of freezer paper with a galaxy shape cut out. (Download it here. Cut a piece of freezer paper to 8 ½ x 11 and feed it through your printer.)


He carefully ironed the freezer paper stencil onto his navy blue tee shirt. We used medium-high heat. NOTE: Irons are hot, hot, hot. No child should use one EVER without adult supervision. And even then, careful warning should be issued so children understand the danger.


Afterwards, I put two cheap plastic placemats inside the shirt between the front and back of the shirt.

Now it was time to use a bleach pen to “color” inside the lines. This is pretty forgiving. Afterwards, carefully peel off the stencil.


When that was done, we used a small dollar-store squirt bottle filled with liquid bleach. He squirted the bleach over our galaxy to make stars. We let the bleach take effect and tossed the shirt in the laundry by itself.


I love the final effect. So does my son. Can’t you tell?


Personal note: Thanks to everyone who offered prayers, virtual hugs, thoughts, and encouragement earlier this week. As we continue to get test results back, I am increasingly encouraged. The Grade 1 cancer appears to be confined in one breast, is non-aggressive, slow-growing, and doesn’t appear to be in my lymph nodes. This IS curable. And I look forward to joining the world’s population of amazing breast cancer survivors.

Monday, July 16, 2012

Schedule Changes


Blog followers,
This is certainly not the post I’d hoped to be publishing, but for many of you who have been visiting my blog since the very beginning, it’s important for me to share.

Last week, I was diagnosed with breast cancer. At the age of 36, this was a big shock. Having undergone a whirlwind week of tests, fits of crying, next to no sleep, and zero appetite, I’m relieved to report that the prognosis is encouraging. All the test results indicate that my Stage 2 cancer is curable. I hope to have a treatment plan determined by the week’s end.

It is my intention to still work with my oldest son when I can. He’s going to need some sense of normalcy and I’m going to need a distraction and to continue doing the things I love. The pace of our activities will no doubt slow, and some weeks cease altogether. I will post when I can, but it will be irregular, sporadic, and unpredictable.

I have LOVED being part of the blogging community and consider many of you to be friends. During this time, I hope you’ll be patient. 

Monday, July 9, 2012

Word-Eating Whale [Nouns & Verbs]


Did you see? Stores are already putting school supplies out!! To keep my son from forgetting some of the valuable information he learned in first grade, I thought a recap of parts of speech was in order.

My inspiration was the amazing recycled whale I saw on Growing Up Gardner

Once our empty gallon-sized plastic milk carton was rinsed out and dry, I outlined the mouth on the bottom of the carton and cut it out using a craft Exacto knife. 


Then I added the eyes and fins (oops, I forgot a blowhole!!) with a permanent marker.


I took the cap off the milk carton and grabbed a stash of plastic lids I’d been saving (21 in all). I divided the lids into two (almost even) groups and, with a permanent black marker, wrote verbs on about half of the lids and nouns on the rest.

Now I filled up the bathtub with a few inches of water and threw the lids in, word-side up.


Before doing anything else we read Nouns and Verbs Have a Field Day, a playful book about what nouns and verbs are and how much they need each other to make sentences. Super fun!


After reading, my two boys headed into the bathroom, stripped off their socks, and my oldest waded in the tub (the youngest joined in the fun shortly thereafter). I explained: “The whale is hungry. He only eats verbs for lunch. If he accidentally eats a noun, he’ll spit it back out into the water in disgust.”


My son steered the whale through the water, carefully scooping up lids. He held the whale upright to drain the excess water out of the milk jug lid’s hole before putting the verbs he’d caught into a plastic bin that I'd set out.

He made a few mistakes and really had to think when I told him “baseball” was not a verb. “But I can do it, Mom!” To which I responded, “You play baseball. And play is a verb, not baseball. It’s a thing.” Now he understood and made the whale spit the lid back out.

This whale has been loads of fun. Not only have we practiced nouns and verbs, but it's a great bath toy (my toddler loves it too!).

Friday, July 6, 2012

Measuring 3 Dimensions


I am still under the delusion that summer should be just as carefree as it was when I was a kid. As a good friend pointed out to me, once you have kids, summer is crazy busy. This activity was a great learning opportunity that I threw together in 10 minutes – perfect for a busy day of summer camp and baseball practice.

I grabbed a handful of items from our pantry with straight sides. I measured the width, depth, and height (or length) of each and noted the dimensions on a post-it note – one note for each object.

My son’s job was to measure the objects and label each with the right post-it note. Before we got started, we did a little reading.


The first part of David Adler’s book Perimeter
, Area, and Volume: A Monster Book of Dimensions provided a great explanation of dimensions – how anything we can hold or walk around has three, and pictures of things have just two. It also illustrated what width, depth, and height (or length) are.


Once we’d reviewed this, my son was ready to put the ruler to use.

After he’d stuck the post-its onto all the items, he flipped them over to check if they were correct. (I’d written the name of each object on the back of its dimensions.)


He thought he’d just measure one dimension of each object to find the match, but confused width and depth and mistakenly matched several. A quick review of the differences between width, depth, and height and my son could see what he’d done wrong.

Wednesday, July 4, 2012

Straw-Blown Painted Fireworks


I asked my oldest son, “What do we celebrate on the fourth of July?”

“President’s Day?” he answered unsure.

“Uh-oh,” I thought. My son didn’t have the context behind why we celebrate Independence Day. I took some time to explain to him that on July 4, 1776, the U.S. adopted the Declaration of Independence, declaring its freedom from Great Britain.

“Oooooohhhh,” he said. I could almost hear it click.

Now I had him write down how he would celebrate Independence Day this year (apparently, we’re not just going to a parade and watching fireworks, we’re playing Wii!). When he was done writing, we got out our set of watercolor paints.


He dabbed some drops on the paper and with a drinking straw, blew air across the paint, pushing it out from the center droplet to make a fireworks shape. 

Download a PDF of the writing paper I made here.

I remember doing this little art project as a girl and how much I enjoyed it. My son liked it too.

Monday, July 2, 2012

Baseball Math Match-Up


My son’s baseball team is mid-way through the season and with each practice, I see a love of the game growing with all the boys on the team. It’s exciting to witness such enthusiasm, see their understanding of the game grow, and skills improve.

When I conceptualized this activity, I asked my son which sport (baseball, basketball, soccer, or football) he wanted to “play.”

“Baseball,” he said without hesitation. Of course.

I designed a page of four pinstripe baseball jerseys and printed three of the pages onto cardstock. Then I trimmed two of the pages so they were slightly narrower than the third (I wanted to be able to tape the three pages together so the two outer pages of the game board could be folded in on the middle page).


I laminated the pages, along with 12 cut-outs of baseballs. (Download a PDF of the jerseys and baseballs here.)


With the baseballs cut out, I attached velco dots to the back of each and the game board, beneath each jersey. I also taped the game board together, using clear tape on the back to “hinge” the jersey pages, putting the widest page in the middle.

Now, all that was left to do was write the players’ numbers on the jerseys and corresponding math problems on the baseballs (e.g. player 12 would be matched with the ball marked 19-7).


It was up to my son to solve the math problem and place the ball under the jersey with the answer.


Three wrong answers (i.e. “strikes”) and the game was over. Every three problems he answered correctly (i.e. “balls”), he was given a small piece of candy (I used Smarties).

This game was a home run!