Showing posts with label Crafts. Show all posts

Friday, July 8, 2016

DIY Indoor Origami Flying Discs


It's been hot lately. Like melt your face off hot. Okay, maybe I'm exaggerating, but sometimes it's nice to do an indoor activity to at least let the sweat dry.

This one is simple and loads of fun. If you're hearing, "I'm sooooooooooo bored" this summer, making indoor origami flying discs might just be the cure.


Supplies for 1 disc
8 two-inch square pieces of paper (plain office paper or heavyweight card stock)
Tape

How to Make It
Fold each 2-inch by 2-inch square of paper corner to corner so you now have 8 triangles.


Now fold one corner of each triangle down; look at the picture below for guidance.


Make sure all the origami pieces are facing up, with the folded flap on top. Slip the pointed corner of one piece into the folded flap of another. Continue doing this until you're able to tuck the last piece in place.


Add tape over each triangle tip for added stability.


Gently bend the outer edges of the disc down for increased aerodynamics.


Fling it like a frisbee and watch it fly and curve in the air. These are remarkably good flyers!


This awesome project came from the book Make: Easy 1-2-3 Projects. Check it out!

Wednesday, June 29, 2016

Spray-Painted Patriotic Tees


Since our July 4th decorative tee shirts haven't been an annual craftivity, I can't quite call them a tradition. But given that this is our third installment, it's certainly something that's makes our Independence Day holiday all the more festive.


Check out our painted handprint flag shirt and July 4th tie-dye shirts from the past!

This year's shirt craft uses handmade freezer paper stencils and TULIP Color Shot Instant Fabric Color. We used red, white, and blue on grey tee-shirts. If I was to do it all again (and believe me, we will), I'd skip the white as it's barely visible and made our designs look washed out. Red and blue will suffice.


Here's how we made them.

Step 1 Pre-wash your tee-shirts if you're using new ones. Don't use fabric softener.

Step 2 Decide on your design. Silhouettes look awesome. Download something from the Internet or if you're artsy, draw something. If you like the ones we created, you can download a PDF of my designs from Google Drive here.

Step 3 Either cut your freezer paper to 8 1/2 x 11 and feed it through your printer or print the designs on regular paper and trace the design onto the freezer paper (hold both pages up to a window to create a light box effect). The design should be on the matte (NOT shiny) side of the freezer paper. Think about using upper case letters to lessen the number of tiny pieces of paper you'll have to iron back on once the design is cut out (e.g. the space inside the 'e').

Step 4 Using a craft knife (think pen-like exacto blade), carefully cut out the pattern with a cutting board underneath your freezer paper. Save the internal pieces you'll need to iron back on. NOTE: Be smart about who does the cutting. If you wouldn't hand your child a steak knife or let them cut an apple, they have poor fine motor skills, or can't be responsible with this tool, do the cutting yourself. For several of these reasons, I did all the cutting.

Step 5 Set your iron to medium-low heat (mine was on a setting of 3 out of 6). Place the design on your tee shirt in the desired place, with the shiny part of the freezer paper face down. Press the paper until it's attached in every place. NOTE: Irons are hot. Don't let your child use the iron if they're not capable of using it safely. Always provide supervision.


Step 6 Insert more freezer paper, a flattened garbage bag, cereal box, or cardboard shirt form inside the shirt. This is a MUST to avoid the paint bleeding through to the back of the shirt.

Step 7 Mask off the rest of the shirt. Overspray is a problem with this paint, which is basically spray paint for fabric. Any exposed areas of the shirt will inadvertently get painted. I used painters tape and plastic grocery sacks to mask off all exposed areas, even tucking the rest of the shirt under the cardboard form.


Step 8 Take the shirt to a well-ventilated area where you're not concerned with overspray ruining furniture, etc. We went outside and put our shirts in the grass. Shake each can of the paint for a minute. Then apply holding the can 6-8 inches above the shirt, slowly moving it across the stencil.


Step 9 Apply multiple light coats going back and forth. TIP: Kids tend to be heavy on the trigger and spray in one spot. Encourage your child to be gentle and move the paint can around the design. If too much paint is squirted in one spot, it WILL bleed beneath the freezer paper stencil.

Step 10 Wait until it dries, and remove all the stencil, painters tape, bags, and cardboard. Enjoy!


Want some great books to read to go along with this craft? Here's what I read to my six-year-old:

Friday, June 24, 2016

DIY Play Aquarium


On our vacation, we visited the Monterey Bay Aquarium in Monterey, CA. Our little guy has talked about it several times since we've been home. It made quite the impression. To capitalize on his interest of all things fishy, I thought we'd make our own aquarium.


This genius idea came from Made By Joel. His example is artistic and modern - a real must see, so stop over there.

What We Used
A corrugated cardboard box
Craft knife
Scissors
Ruler
Pencil
Watercolor paper
Paints, markers, colored pencils, blending art tissue paper, etc.
Mono filament (aka clear fishing line)
Buttons
Glue
Tape

How We Made It
Using the ruler as a straight edge, on one side of the box I drew and then cut with a craft knife some slim channels, approximately an inch apart. I made sure the channels I cut were narrower than the width of my buttons.


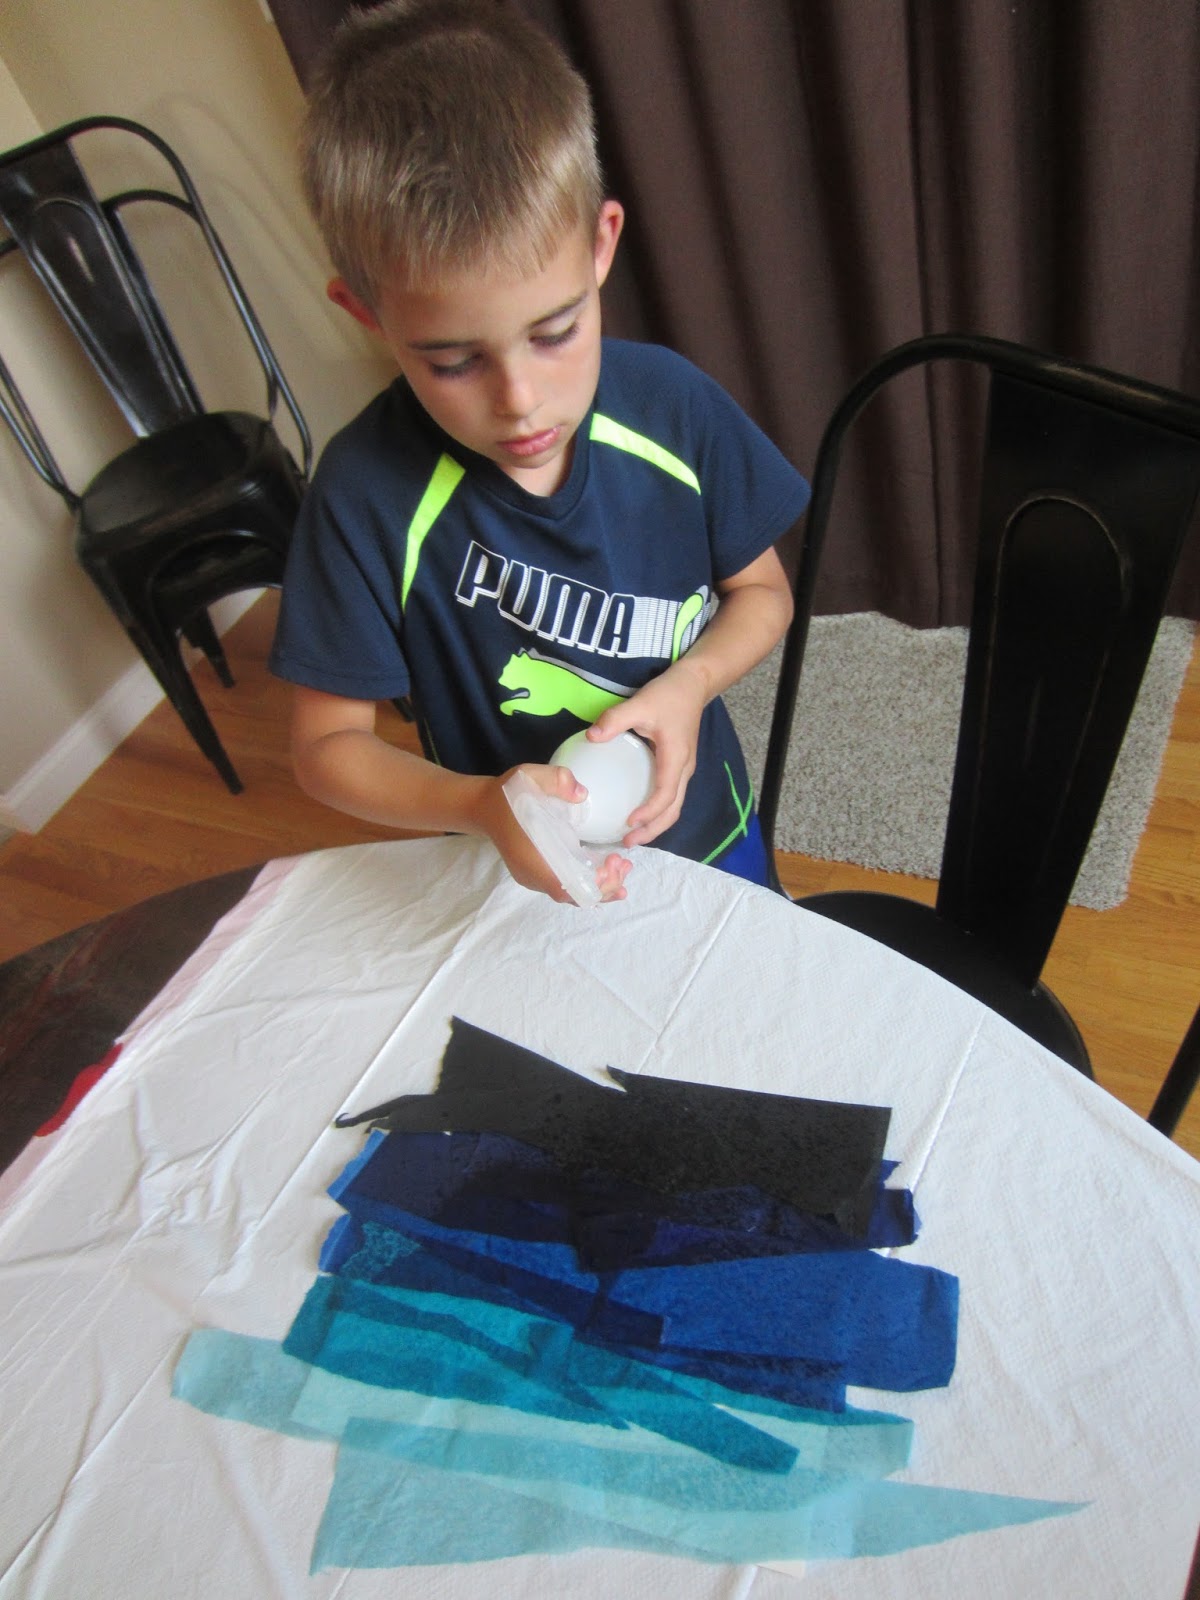
Now my son got to decorating the background of our aquarium. I gave him a piece of watercolor paper and we layered strips of bleeding art tissue paper (lightest at the top and darkest at the bottom).


Once spritzed with water, the colors began to bleed onto the paper. My son, however, wanted to press paper towels into the top of the tissue to wipe up the excess water. The stipling of the paper towels made for some beautiful texture and we decided we liked the look so our paper towel (once dried) became the background of our aquarium. I love a happy accident!


Now I cut fish shapes out of the thick watercolor paper and my son and I colored them.


I taped the end of mono filament to each fish, strung them through the slits in the box and then wound them through the holes of a button before knotting each. This enabled my son to move the fish back and forth to make our aquarium fish (and jellyfish) more active.


Read
To go with this activity, we read a wonderful book. It reminded us of our visit to the aquarium and all the phenomenal creatures we saw there. 

Wednesday, June 22, 2016

Star-Spangled Sun Catchers


With the July 4th holiday rapidly approaching, I thought it might be fun to craft our way to a more festive window display.


Our youngest son loves art and building. When I saw these stunning stars on The Eric Carle Museum of Picture Book Art website, I knew we had to give it a try.

What You Need
Slim wooden craft sticks
Low-temp glue gun and low-temp glue (optional)
White school glue
Paintbrush (optional)
Tissue paper in assorted colors (we used red, white, and blue)
Scissors
Mono filament (aka fishing line) for hanging

How to Make Them
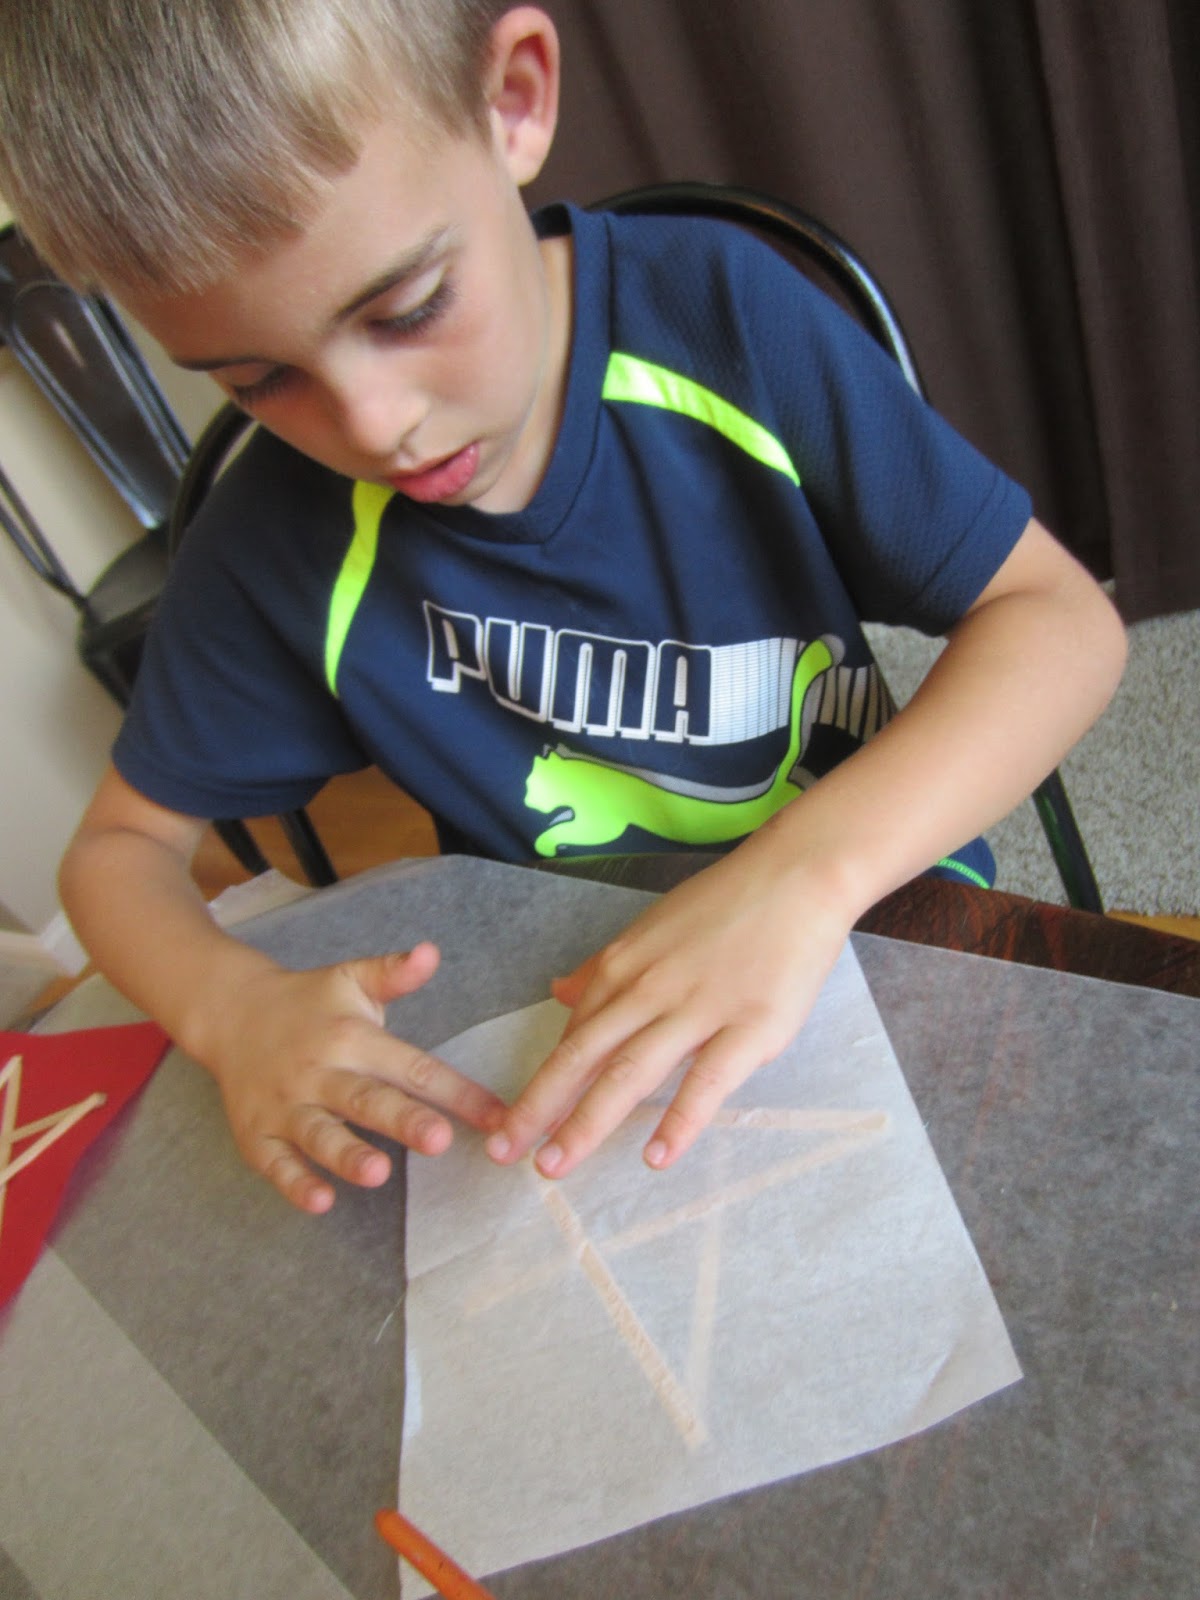
Arrange five sticks in a star formation, adding dots of glue at the points to connect. I applied the dots of glue with a low-temp glue gun and my son arranged the sticks. You can do this with white glue, but will need to allow for drying time before step two. Don't worry if your stars aren't perfect. The lopsided look adds to their whimsy!


When the sticks have been made into stars, apply white school glue to the sticks. Since I thought squeezing out a small amount might be asking too much from my six-year-old, I squirted it in a disposable cup and we brushed it on with paintbrushes.


Once covered in glue, we laid a piece of tissue paper over the star and pressed lightly to make sure it made contact with all the gluey sticks.


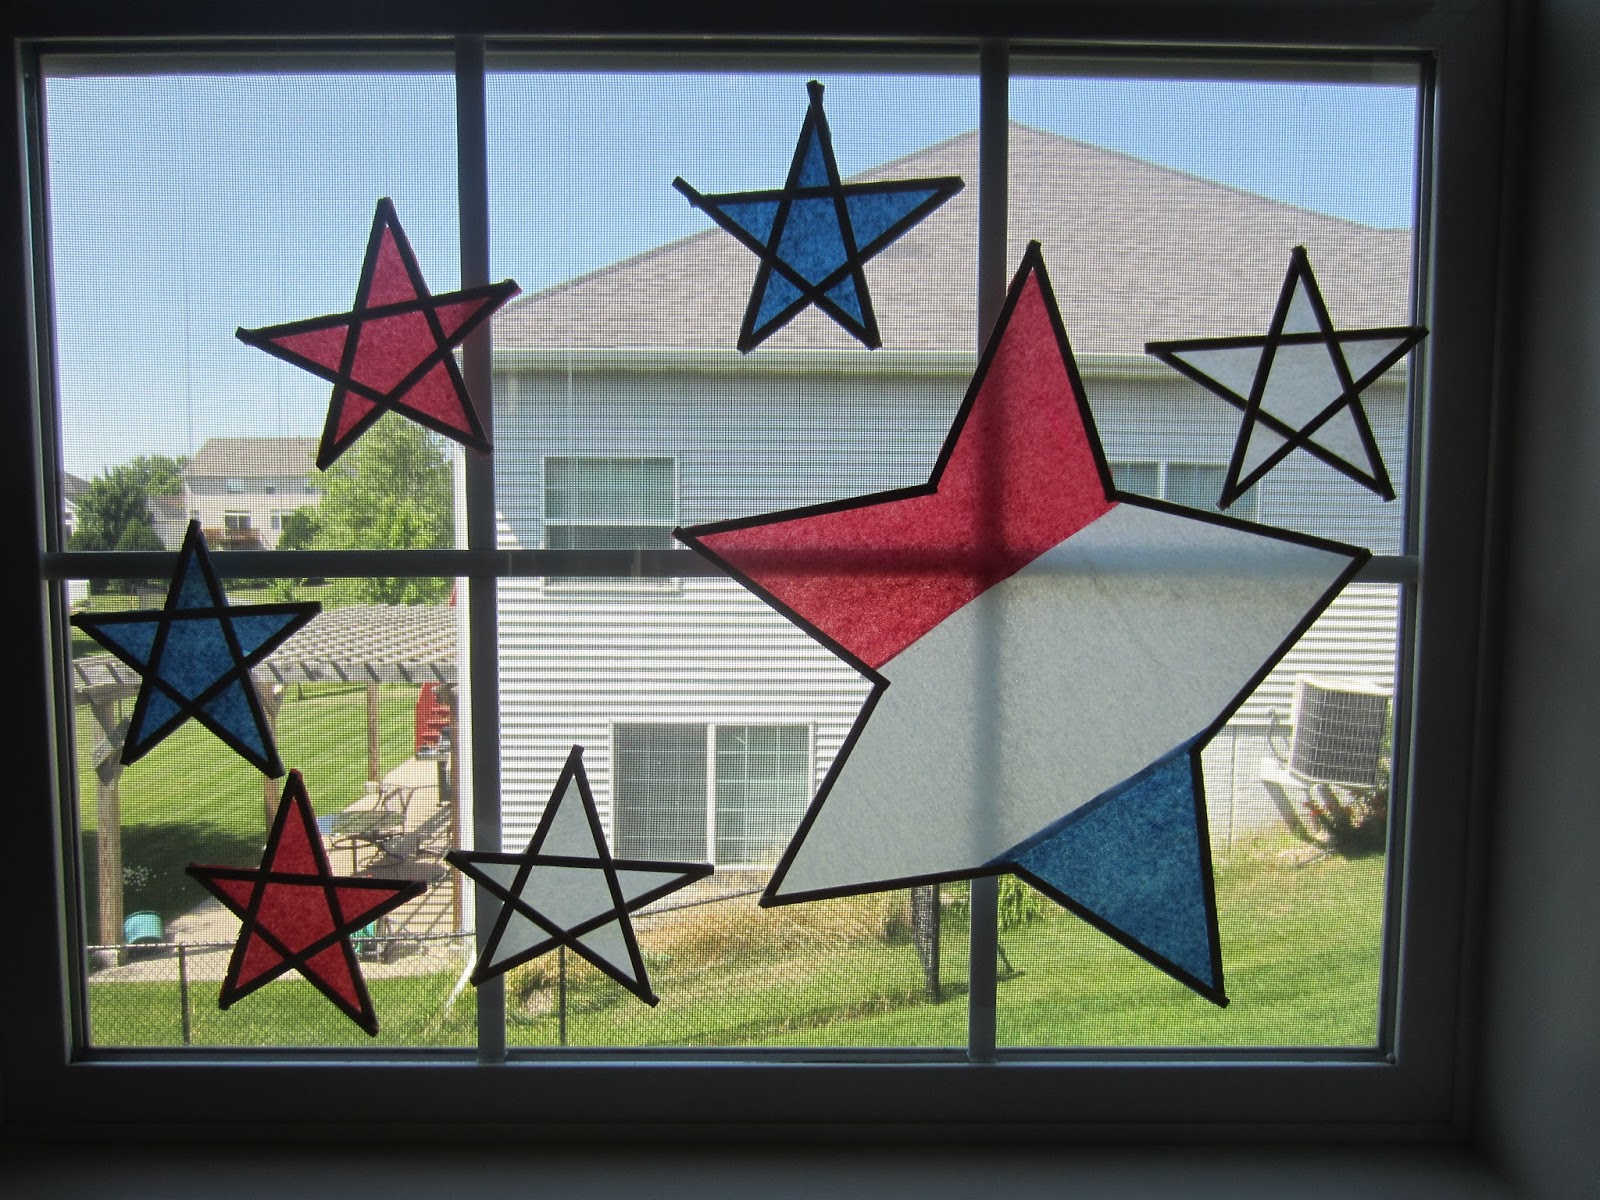
Once dried, I carefully cut around the edges of each star, poked a hole in the tissue and threaded mono filament through. I then hung the sun catchers in our window to enjoy.


My son got creative and made one GIANT star. Encourage your kids to play around with various shapes and layers of the colored tissue. A little glitter might create an extra fun spotted look too!

Friday, April 1, 2016

Homemade Sailboats (the Science of Wind)


Our youngest son (age 6) loves to tinker. Forget toys, he'd rather raid our recyclables, fire up his imagination, and make something entirely new. I knew he'd dig this activity.

We made a bathtub sailboat.


It took just a few minutes and a few supplies.

For each sailboat, you'll need the following:
wide, shallow plastic jar lid (ours was from mayo)
plastic drinking straw
card stock cut to 3-inches by 5-inches (or an index card)
hold punch
tape or glue (we used a low-temp glue gun)

How to Make It
Punch a hole in each of the cards short sides in the middle. Thread the straw through the holes. It will fit snug.


If your lid isn't threaded, tape will hold your straw and paper sail upright. If you have threads, parents should use a glue gun to assist with getting the sail stabilized.

Now simply, place your boat gently in a basin of water. We played with ours before bath time. Blow the sail and see how it propels the boat.


Will the boat swivel around so the sail's facing a certain way based on the direction of your breath (i.e. the wind)?

This is our second fun activity from Science Play! by Jill Frankel Hauser. It's loaded with other great ideas!

Friday, November 6, 2015

Heat-Activated Mobile

Can heat make something move?


This was the question I asked my son when we started our crafty experiment. He didn't have an answer for me then, but by the time we put our mobile to use, he definitely did!

What You Need
construction paper
scissors
push pin
pencil
ruler (optional)
string (we used embroidery thread)
paper clips
hanger
lamp
an circular object to trace, roughly 4 inches in diameter

How to Make It
Decide how many circular wheels your mobile will have. One works just fine but more is fun too. Layer pieces of construction paper, and trace a circle on the top piece. Cut through all the layers to create your circles.


Fold each in half, then in half again, and in half one more time. Make sure to crease the folds well.


Unfold the circles and mark approximately 1/2-inch from the edge on each fold.

Cut up to each of these marks and fold back the paper on one side of each slit.


Use a push pin to poke a hole in the very center of each circle. Wiggle it to make the hole big enough to fit the string through.

Tie one end of the string to the paperclip. Thread the other end through the hole in the center of the circle, making sure the folded corners face down.


Now tie the top of the string onto your hanger. Complete any other circles and finish your mobile.


What to Do With It
Hold the mobile steady directly over the bulb of a table lamp. Observe what happens to the mobile's circles - they slowly begin to turn!


Note: Some high efficiency light bulbs give off less heat. Edison and incandescent work well. Try different lamps, different distances away from the bulb, etc. Just make sure to warn kids not to touch a light bulb that may have been illuminated for awhile.


How it Works
The lamp doesn't just make light, it makes heat too. As it warms the air above it, that air rises while cooler air becomes heavy and sinks. As the warm air cools, it eventually sinks. The air is constantly moving as it warms and cools. The warm air above the lamp begins to rise and this air movement makes the circles on your mobile spin!

This great idea came from the book Super Science With Your Kids. It has LOADS of great activities and ideas; check it out!

Wednesday, September 23, 2015

Earth's Layers: DIY 3-D Diagram


It's hard to imagine what's deep down inside our planet, but to help my 5th grade son remember, he made a diagram.

Despite his hatred of cutting and art, he really enjoyed seeing how his diagram came together. And now he can refer to it any time to see just what exactly is deep, deep underneath our feet!


Supplies
Large earth to cut out (download my free PDF from Google Drive if you need one)
Colored paper in brown, yellow, orange, and black
Circular objects in various sizes to trace
Scissors
Pencil
Glue
Chalk (optional)

How to Make It
Step 1: Lay your earth picture over top of the brown paper and cut out the earth. You'll be cutting a brown circle the exact same size as your earth. This is the earth's crust. Set your earth aside until step 6.

Step 2: Find a circular object slightly smaller than your earth. Trace it onto the yellow paper and cut it out. This is the earth's mantle. Center it inside the brown circle and glue it in place.

Step 3: Find another circular object that is smaller than the yellow mantle layer you just made. Trace it on orange paper and cut it out. Center it inside the yellow circle and glue it in place. This is the outer core.


Step 4: Find a small round object and trace it on black paper. Cut it out, center it in the middle of the orange circle and glue it in place. This is the inner core.

Step 5: Add labels to each of your layers.

Step 6: Orient your earth correctly and fold the left side over the right so you have a vertical crease in the middle. When "closed" you won't be able to see the earth's continents.

Step 7: Do the same to the earth's core, folding it in on itself in half vertically.

Step 8: Glue the back of the earth's right side to the back of the core's left side. When laid flat, your earth will cover the folded core you made.

Step 9: Glue to a piece of black or dark blue construction paper to simulate space. Add stars with white chalk (optional).


Read
Before we embarked on this project we read Magic School Bus: Inside the Earth, which helped us visualize a trip through all of the earth's layers. It also contains a handy illustration to refer to when you're making your 3-D diagram!

Friday, September 4, 2015

Mouth Bow Musical Instrument


It's no secret. We're B-I-G fans of DIY music instruments. Need proof? Check out our homemade piano, wrenches xylophone, drinking straw flute, craft stick harmonica, balloon bongo drums, PVC palm pipes, and tissue box guitar!

It's been awhile since the kids got to pluck some strings, though. This simple instrument requires very few supplies, comes together quickly and easily, and makes some surprisingly cool sounds! 


What You Need
Strong string
A stick (ours was about 12-14 inches) that bends without breaking
Plastic disposable drinking cup
Craft knife (for only adults to use)
Scissors
Cling wrap (optional)

Making Your Mouth Bow
Wrap one end of a length of string around an end of the stick, about an inch down from its tip. Tie it in a sturdy knot.

Bend the stick and tie the string on the other end of the stick, about an inch from the tip. Knot it tightly. Clip any excess string.


Have a parent cut a slit near the top of the plastic cup using a craft knife.

Insert one end of the stick into the slit in the cup.


How to Make Music with Your Mouth Bow
Place one end of the stick in your mouth, clamp down on it with your teeth (not your lips and tongue). If the idea of your child putting a stick in their mouth makes you nervous, you can cover the end of the stick with a small piece of plastic cling wrap.

With the mouth bow firmly in place, use one hand to lightly hold the stick and the other to pluck the string. The cup is your resonator.


To make the tone change from high to low, gently bend the bow even more and release. 

History
This instrument has a long history. According to the book Kidtopia by Roberta Gould, which provided our instructions for this activity, the mouth bow may have been one of the world's very first musical devices and has been played all over the world, especially Africa, Asia, and South America and even some Native American groups. Where the original instrument would have used a gourd as a resonator, we've used a plastic cup. Check out Gould's book for even more great crafts for kids!

Friday, August 21, 2015

Swimming Fish (A Science Experiment)

Four supplies - five if your kids are artistic - are all it takes to make artificial fish swim. This was loads of fun, which is my favorite way to teach science concepts.


What You Need
White craft foam
Baking dish of water (either jelly roll or 9- x 13-inch casserole dish)
Liquid dish detergent
Permanent markers

What to Do
Cut fish shapes approximately 2 inches long from the white craft foam. Decorate your fish with permanent markers if you want.


Cut a small rectangle out of the tail fin of each fish.


Fill a pan with about an inch of water.

Place your fish in the water, pointed in the direction you want it to swim.

Carefully drop a drip of dish detergent in the fish's tail fin notch.

Watch your fishy zoom forward!


To repeat, you'll need to dump the now soap-filled water and refill with plain water.

Note: We wanted to race two fish but found that it was tough to get the drips of soap in two fish so quickly. As soon as the soap disperses in the water, the fish won't swim.

How Does it Work
The detergent breaks the surface tension of the water, forcing the fish forward as the water molecules break apart because of the soap.

Read
The awesome activity came from a collection of everyday at-home science experiments. I highly recommend Kitchen Science Lab for homeschoolers, supplemental after school science lessons, mad science-themed birthday activities, etc.


Why not teach your kids about fish along with this activity? We read the following books, which inspired the designs of our fish and our REAL understanding of how they swim in the wild.


Friday, July 17, 2015

Simple Homemade Airplane


We're still flying high exploring flight. Yesterday we made some easy peasy homemade airplanes (or gliders, if we're truly being specific).


These are incredibly simple and made with items you've probably got around the house. Here's what you need.

Supplies
Drinking straw (not the bendy kind)
Heavy cardstock or poster board
Scissors
Tape and/or 2-4 tiny rubberbands
Something small for a weight (a tiny wad of modeling clay, button, etc.)
Clear tape

How to Make It
1. Cut the paper into two strips about 1 inch wide. If you're using a sheet of cardstock, cut it on the long end so your strips are 11 inches long.

2. Now that you have two 1-inch by 11-inch strips, cut one to be 5-6 inches long. Round the corners on the short length of paper. Fold each end in about 3/4 inch from the end. Crease.

3. On the longer strip, round the corners but make two of the corners on the same side of the paper elongated so they look vaguely like bird wings. Now roll the tips of the "wings" inward (you can roll the paper over a large marker to help).


4. Afix your wings to the plastic drinking straw. The long wings should be back from the nose of your plane about 1 1/2 inches. Use tape or for added durable use small rubberbands to hold in place.


5. Repeat with the shorter wings, placing them at the other end of the straw just about 1/2 or 3/4-inch from the end.

6. Now add your weight to the nose of the plane. We used a tiny round magnet that was held in place by clear tape. It may not have looked the best, but it did the trick.


7. Practice flying your new plane. We were surprised to see ours even make some loopty-loops!


This great idea was adapted from an activity shared in John Williams' book Projects with Flight. It's loaded with DIY flying machines to craft (kites, airplanes, helicopters, and even birds). 

Friday, July 10, 2015

Drinking Straw & Tissue Paper Gliders


One of the themes I planned to explore this summer was flight. This topic requires no selling from me; my two sons are instantly fascinated.

We recently visited both of the Smithsonian's Air and Space Museums in the Washington, D. C. area. Touring these museums and seeing my children's enthusiasm and wonder bumped this theme to the top of the list.


Because aviation truly took off after the successful flight of a glider, launching our own exploration of flight with a homemade glider seemed fitting.


What You Need
2 large sheets of tissue paper
8 drinking straws (the kind WITHOUT the bendy joint)
Clear plastic tape


How to Make It
Gently crimp one end of a straw and push it into another straw about an inch. Do this so you have three straws put together. Put another three straws together. Put the remaining two straws together.

Bend the top of one of the the three-strawed lengths down about two inches. Crimp the end of the other three-strawed length and push it into the end of the straw you bent. Your straws will form a V-shape.

The two-straw length will be the bottom of your triangular glider frame. Bend corners and push the straws together until you have a large isoceles triangle made of drinking straws.


Lay this over one piece of tissue paper. Wrap it around the frame and tape in place. It can either go completely around or just around one side. We covered the whole frame, both sides, and used two pieces of tissue to do so.

Every seam or loose flap of tissue was taped down to avoid creating any unwanted aerodynamic drag.


How to Fly It
Take the glider to an elevated place and propel it forward. It may take a few tries to figure out just where to grip it and how much force to use when releasing it. Watching it gracefully fly is both shocking and fun.


My boys were surprised that something with no wings could fly so well. They had loads of fun experimenting with the best places and techniques to get it to land smoothly (or even nose dive drastically).

The gliders we made held up for a good 30 minutes of repeated flights, which given the construction, was pretty impressive. A little repair and we'll be back at it again tomorrow probably!


How Does a Glider Work
Because real gliders don't have an engine to help them fly either, their success in the air is largely dependent on their design. Both air flow and the wing design are what enable gliders to stay in the air despite their weight.

Our homemade glider is a delta wing airfoil and like all gliders, even hang gliders, its flight is made possible by Bernoulli's Principle. (Check out our exploration of Bernoulli's Principle here.) Essentially, the air moves faster over the top of the airfoil because of its design, which creates a low-pressure zone over the top. This enables the glider to be lifted, therefore suspending it in air. 


Read a Book
My 9-year-old really enjoyed reading about the Wright Brothers' glider designs in Gerry Bailey's historical fiction book. 

This wonderful craft came from Smash! Crash! Launch! 50 Mind-Blowing, Eye-Popping Science Experiments by Rain Newcomb and Bobby Mercer.