

I’m not sure how it came up, but just last week out of the
blue, my son mentioned the bird’s nest that we had under our deck this past
summer. We were lucky that it had two sets of babies in it – first a robin, and
then a squatter who took over when she and her babies vacated. It was so much
fun for the boys to peer through the slats in the floorboards down onto the nest
filled with eager fledglings.
I suppose it was nostalgia for those sweet moments that
motivated this activity. … Well that AND this amazing yarn basket I saw on Homework. (Isn’t that breathtakingly awesome?!?)
If I picked the right color yarn and it wasn’t orderly,
wouldn’t our bowl look like a nest, I thought. (Sometimes experimenting is the
only way to answer a question like that.)
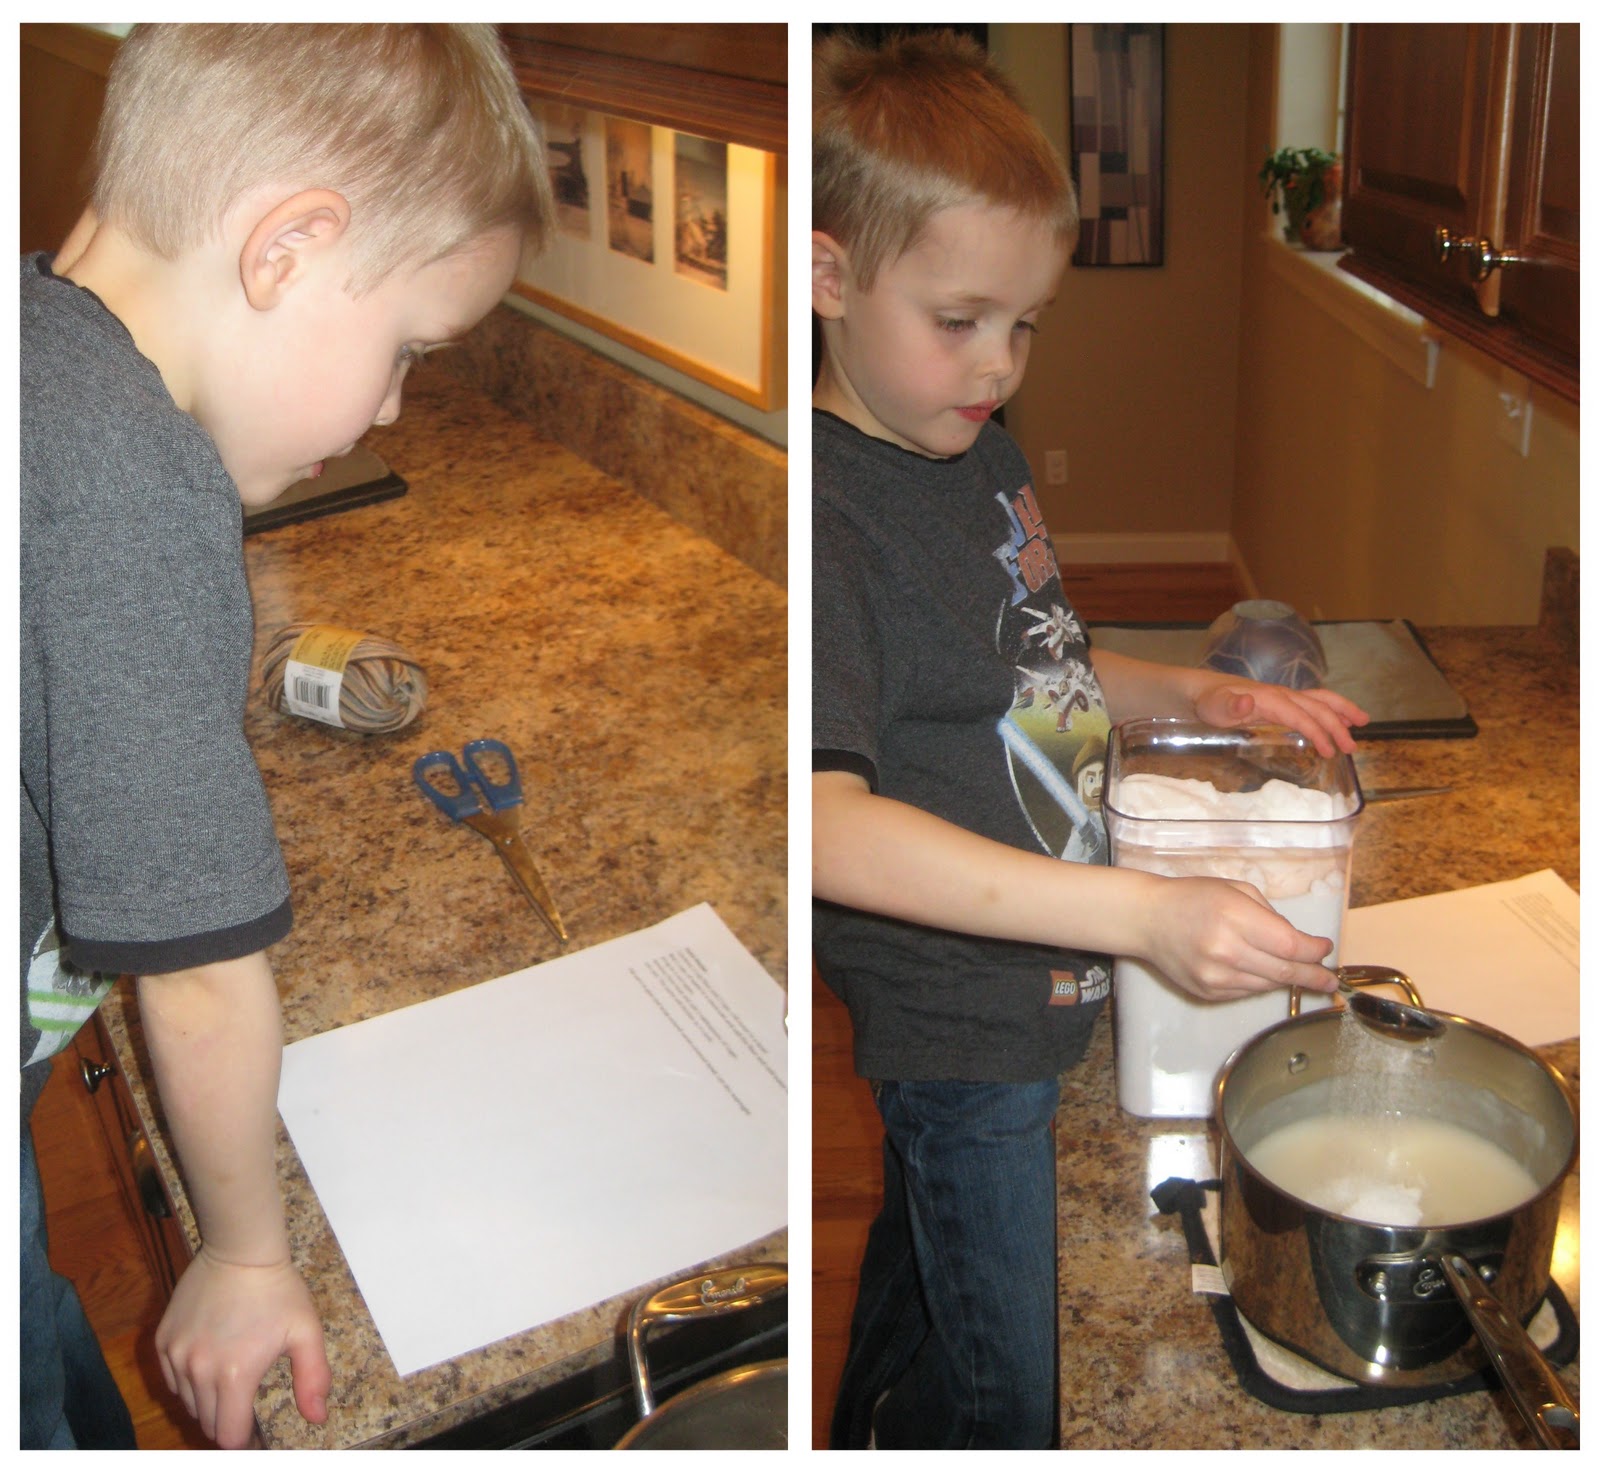
My son came home from school and we made some paper mache
paste, following Carolyn’s recipe exactly as instructed. There was only one problem.
I could have mass marketed our nests with the amount of paste we made. If you
do this craft, either line up other paper mache projects to follow it, or cut
the recipe down by at least a fourth.

You know what they say: a watched pot never boils. Instead of watching and waiting for the water to boil, we took a small cereal bowl and covered it in saran wrap so that no part of the outside of the bowl was peeking through. Once that was done, we were ready to move on to the next steps in the recipe (which I had my son read).
You know what they say: a watched pot never boils. Instead of watching and waiting for the water to boil, we took a small cereal bowl and covered it in saran wrap so that no part of the outside of the bowl was peeking through. Once that was done, we were ready to move on to the next steps in the recipe (which I had my son read).

While our paste cooled and thickened, we read a wonderful
book that my eyes fell in love with the second they saw it on the library shelf: Birds Build Nests by Yvonne Winer. The illustrations by Tony Oliver reminded me of John James Audubon’s prints. The book features 16
different kinds of nests from birds all over the world.
My son and I LOVED seeing how different they all were and
enjoyed trying to guess some of the birds (I got the red-winged blackbird
right, my son knew the peregrine falcon; the birds are identified at the back
of the book).
When the book was done and the paste was cool, my son
unwound a ridiculously long strand of yarn from the spool I’d purchased. Then he dunked it in a shallow bowl of the paste and stirred it, making sure it was
completely covered.

Now, I have to be honest … my son hates having dirty sticky hands. I should have remembered this from
our last paper mache project: the dinosaur egg we made. (sigh) But, alas, I had
forgotten. It took a lot of coaxing and quite a bit of “assistance” for my
son to get the yarn spread over the outside of the bowl. We left the bowl upside down on a piece of waxed paper; in 24 hours our nest would be dry.


The next day, I wedged a butter knife between the yarn and
the saran wrap and eased it off its mold. Voila! Our own version of a bird’s
nest!


That looks like fun!
ReplyDeleteI love how it turned out! Very cool.
ReplyDeleteSticky hands and gooey mess - two reasons I never attempted papier mache projects in the house :) The nest looks great, and I will be looking for this book!
ReplyDeleteThanks your stopping by my blog and commenting (storybookscience.com) I love this activity. We tried something similar using a balloon and it did not turn out well at all lol. We will try it again following your instructions. I am now following you on GFC as well.
ReplyDeleteThat is really clever! What a cool way to present a present or gift!
ReplyDeleteThanks for linking to science sparks fun sparks!
We have tried this activity too, they came out really cute, but ours took sooo long to dry. Emily was young when we first tried it, she would probably really enjoy it now. Thanks for linking up to stART :)
ReplyDeleteWhat a great mom you are! Hooray for you!!!
ReplyDeleteHeidi Butkus
http://heidisongs.blogspot.com
What a fun craft!! I love it!! Thank you so much for sharing it at Sharing Saturday!
ReplyDeleteGreat nest. Learning and fun. What? You can't be serious. I am a new follower.
ReplyDeleteWe made a bird cake like this that was lots of fun - it makes a PERFECT nest! What a fun activity! Thanks for linking up to TGIF! Have a great week,
ReplyDeleteBeth =-)
Yours turned out SO much better than our attempt a few years ago. I'm really beginning to think I just didn't have the proportions right. It's super cute!
ReplyDeleteThanks for linking up to Science Sunday!
That is so fun! Although my son is equally stick averse, so this may not be the best project for us just now!
ReplyDeleteThis would make a cute spring decoration for our home!
ReplyDelete