Wednesday, February 29, 2012

Oatmeal Container Planetarium


Throwing unique-shaped containers in the recycling bin is hard for me. (I’m always wondering how they can be recycled into kid’s crafts.) Cylindrical oatmeal containers fall into this category.

When I was light on inspiration, I Googled and found this amazing craft on Education.com – a bedroom planetarium! I adapted the instructions slightly; see below.

When my son came home from school and saw the supplies on the table, he was excited. Over and over, he kept asking what we were going to use the flashlight for. (What’s with kids and flashlights?!?! They love ’em!) Here’s the supply list:
  • Colored construction paper, paint, crayons and any other art supplies to decorate the oatmeal container
  • Double-sided tape or glue
  • Exacto craft knife
  • Black construction paper
  • White crayon or white colored pencil
  • Empty oatmeal (cylinder) container with its lid
  • Flashlight
  • Pushpin

Before we got started, I explained to my son that we were going to make a projector to shine the constellations on the wall. The last time we learned about stars was ages ago, but his enthusiasm for all things space hasn’t diminished a bit. He was psyched!

What the Adult Does
Cut a large circle in the middle of the plastic oatmeal container lid with the Exacto craft knife. Next, have your child hold the flashlight in the center of the cardboard bottom of the oatmeal container. Trace around it. Use the craft knife again to cut slightly smaller than the circle you’ve drawn; you want the flashlight to fit snugly.


What the Kid Does
Give your child construction paper to decorate in a space scene. First, my son drew planets and stars with colored pencils. Then I had him add a nebula and galaxy with paint. To do this, we added drops of paint to a plastic disposable dessert plate and placed another clean plate over the top, spinning it to swirl the paint together. Then we removed the top plate and pressed the paper into the paint on the bottom plate. Voila! We also used a pencil eraser dotted with glow-in-the-dark paint to make stars. Let dry.


Next, cut circles out of black construction paper to fit snuggly inside the oatmeal container lid. Now use a book of constellations to draw constellations on the black circles. Carefully use a pushpin to make holes wherever there is a star. Write the constellation’s name on the disc.
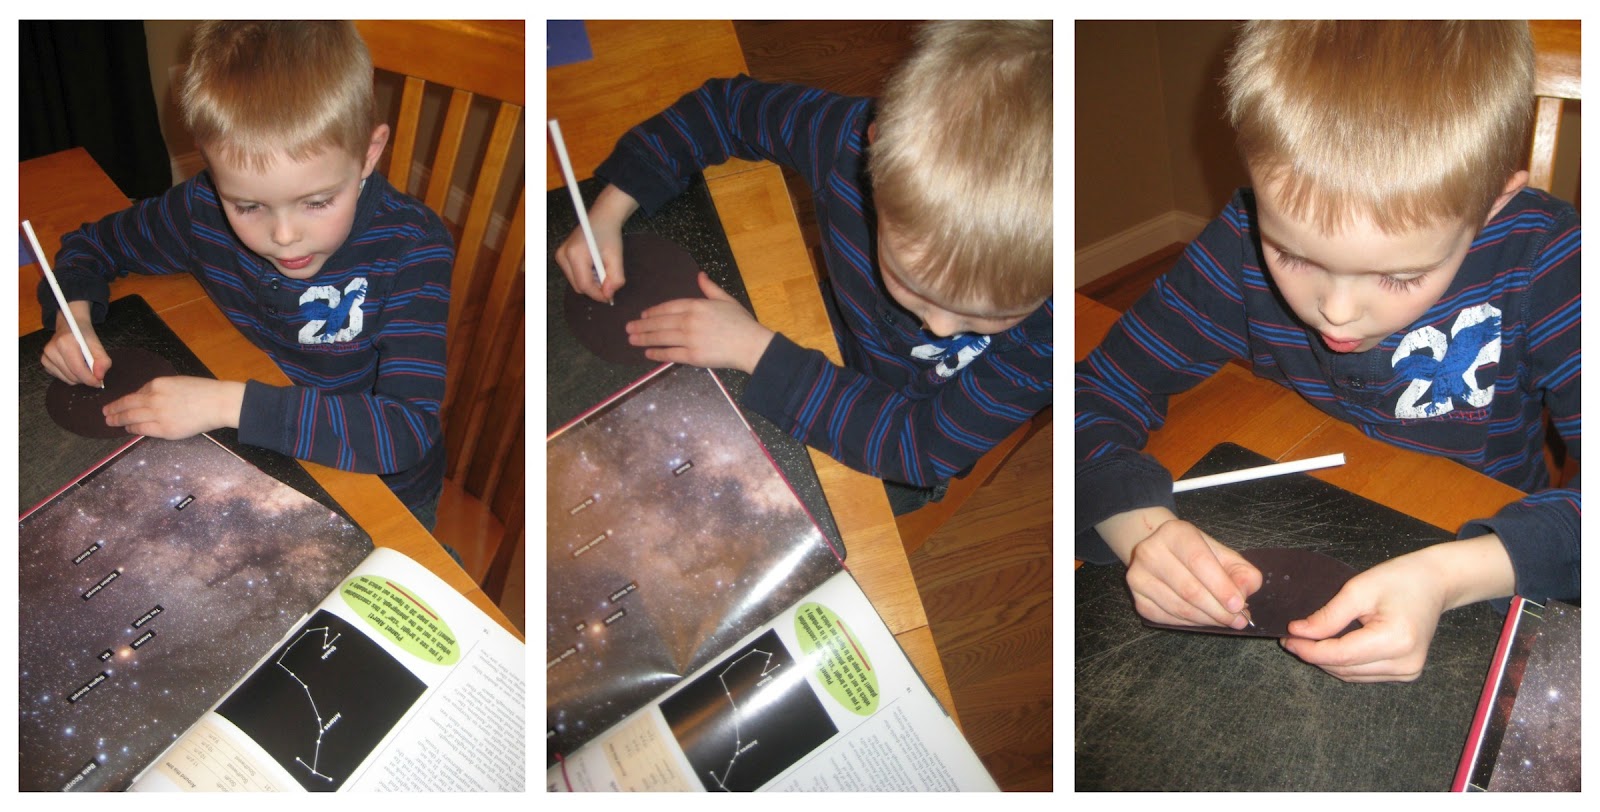

Now use glue or double-sided tape or glue to adhere your child’s space art to the outside of the oatmeal container. And if you haven't already, insert the flashlight into the hole and place one of the constellation discs inside the lid. Put the lid on the container.


Head into a dark room and flip on the flashlight. Ooh and Ahh! (My son sure did!)


Monday, February 27, 2012

Building Math Skills with DIY Dominoes


I don’t know what happened to our set of dominoes, but it’s disappeared. (sigh) So many of the blogs I follow have used dominoes as a math manipulative and after seeing all the amazing ways they can be used to build math skills, I was ready to jump on the bandwagon.

If I can make something rather than buy it, I will. Partly because I’m cheap, and partly because I’m crafty.

With some rarely used ice cube trays collecting dust and a big tub of Plaster of Paris in the basement, I already had everything I needed.

My son helped me measure and mix the Plaster of Paris according to the directions on the label. Using a plastic spoon, I tried to carefully dispense an equal amount of plaster into each ice cube tray compartment. 

Two trays makes 28 dominoes, which is exactly what you need for a set of double six!


I tapped the trays on the counter to release any air bubbles and level out the tops of the plaster. After about an hour, they were dry enough to release from the mold. A full 24 hours later and they were ready to paint.


I brushed one coat of black acrylic paint on each. When I was through with that, I cut a small stencil of a thin line to add in the middle of each domino with white paint. Now I stenciled that on. To add the dots, I simply dipped the end of a small paintbrush in white paint and made light contact with the domino. Click here to visit the site that I used to know what each domino should look like.

Now I waited until they dried.

For our first domino activity, I chose to make windows. My son picked a domino and placed it on the table horizontally; he found another one that had a similar number and lined it up vertically underneath so the two like numbers were next to each other. He did this with four dominoes, until it formed a rectangle shape. (Truthfully, there wasn't much of a window in the middle since our dominoes are squattier than store-bought ones.)


The objective was to see if my son could make windows that used every single domino. While we weren’t successful, it was sure fun trying! I got the idea from the NRICH website, which has tons of other fun ideas for using dominoes.

Here are just a few of the other great (math) domino activities I’m planning to do with our DIY plaster dominoes:
Simple Dominoes Addition (printable worksheets) on First School
War with Dominoes on All Things Beautiful

Note: These dominoes have slanted sides so they will not stand-up; but they are positively perfect for doing countless math activities with your kiddo!

Friday, February 24, 2012

Homophones Memory Game


You know what’s REALLY funny to a first grader? Homophones! These are words that sound the same but have different spelling and meaning. Learning about homophones helps your child with reading comprehension and spelling. We kicked off this fun activity with two fabulous books.

There were cascades of laughter during both. My son couldn’t stop giggling at all the silly uses of homophones. These books make language arts hysterical!!


If you haven’t checked out Brian P. Cleary’s Words Are CATegorical series, you must. This is the third time we’ve read one of them and each has been a joy (stop here and here to see the other activities where we used his books). Gene Barretta’s book was equally enjoyable and useful in teaching my son about homophones. I would recommend both.

After reading, I gave my son some homophone cards I’d made. 


Download a 2-page PDF of the cards I made here. Print them on cardstock, glue construction paper to the back so they aren’t see-through, and cut them out. You're ready to play!


Now we made a four-by-six grid of the cards, placing each face down on the table. It was time for a Homophones Memory game! Play alternated between myself and my son.


We each turned over two cards at a time, trying to find a homophones match (e.g. stair and stare). When either of us found a match, we took another turn. The winner of the game is the player with the most matches at the end.


My son’s memory is so much better than mine, but even I enjoyed this game!

Wednesday, February 22, 2012

I am Pharaoh [Craft & Writing Prompt]


Warning: If your child tends to be bossy, it might be best to avoid this activity. My son thoroughly enjoyed being “Ruler of Egypt” ... perhaps a little bit too much!

Before my son got crafty, we read up on Ancient Egypt. Both of these books contain amazing graphics and illustrate the Egyptian jewelry, headdresses, and clothes beautifully.


Now watch how we transformed one large sheet of gold posterboard, double-sided sticky tape, and construction paper strips into pharaoh accessories!

First my son made an Egyptian Pharaoh’s headdress, using instructions on the Activity Village website. I used their pattern as a guide, folding a sheet of newspaper in half so the pattern would be symmetrical. Then my son cut it out and we stapled it to a strip of the paper (this became the headband).


Next, he used double-sided sticky tape to glue on blue strips of paper. Voila! He looked just like the Great Sphinx of Giza (well, from the neck up anyway!).

Then we used the rest of the posterboard to make a gold collar with directions from Show Me. We traced a plate for our circle shape and then positioned another circular bowl inside it closer to the edge and traced it too. By cutting a slit in the back, it was easy for my son to cut out the interior circle and to slip it on and off.

Since my pantry only had bowtie pasta (a decidedly un-Egyptian shape), my son glued on more strips of paper to emulate precious jewels.


Once completed, he put them on and promptly told me he was Pharaoh and I was a royal guard. I gave him a blank sheet of writing paper and told him that as Pharaoh, he needed to record his rules.

Download a PDF of this writing paper here.

His rules follow. (Um … I'm not sure how I feel about that first one …)

Mom has to clean the dishes.
Everyone hugs Dad.
Live in the pyramids.
No school!
All wear chapstick.

While my son would rather do just about anything other than write, giving him this opportunity was just the motivation he needed. No whining, just writing. (Oh, how that makes me happy!)

Monday, February 20, 2012

What's the Weather There?


Download this thermometer here.
Spring break is coming up so I figured it would be fun to take an imaginary trip to five U.S. capital cities. Just the idea of this pretend adventure made my son giddy!

“Where we goin’, Mom?" he asked. From a bowl full of papers printed with each capital city, my son drew one. This was our first stop: Sacramento, CA. (Woo Hoo! On a cool February day in the Midwest, it was a real treat to go there, even if it was just in our minds!)

I handed my son a plastic sheet protector filled with two papers: a map of the United States on one side and a thermometer on the other.

We used Google Maps to locate where in California the city of Sacramento was located. My son made a dot on his sheet protector-covered map with a dry-erase marker. Then we headed over to weather.com to see what the temps were like that day. My son wrote the name of the city and temperature next to the thermometer and colored in the mercury up to 65 degrees Fahrenheit with the dry-erase marker.

We made stops at four other capital cities - Juneau, AK; Charleston, WV; Bismarck, ND; and Salt Lake City, UT. What a blast we had on our virtual vacay!


When all the cities were identified on the maps and thermometers were colored, we “returned home” and I asked my son the following:
  • What was the hottest city we visited?
  • What was the coolest?

Then he put the cities (i.e. thermometers) in order from coolest to warmest temperature.


Lastly, I put his subtraction skills to the test and asked him to tell me how much warmer it was from one city to the next.


“Why didn’t we go more places, Mom?” he asked when we were done. It looks like more “vacations” are in order!