Wednesday, April 15, 2015
Short Vowel Sounds Board Game
So I've noticed something. When I work with my son and volunteer in his alternative kindergarten class, those darn vowel sounds are tough for kiddos to remember. Since the teacher has been working on letter sounds using Jolly Phonics, I thought a little game might help reinforce what he's been learning in school.
This game uses the short vowel sounds only. I had the five Jolly Phonics songs (and tunes) written down to help me remind my son as we played.
If you're unfamiliar with Jolly Phonics, simply search YouTube for "Jolly Phonics a," "Jolly Phonics e," etc. Each letter sound has a short song to sing to help remember its sound, along with an action to complete while singing. It's terribly effective for kinesthetic learners. And let's face it, music is a great way to memorize things (just think of the alphabet song!).
To play the short vowel sounds board game, you'll need two pages of heavyweight cardstock, onto which you'll print my free 2-page PDF (download it free from Google Drive here).
Cut, fold, and glue the 10-sided die together (I scored the lines with the backend of a butter knife and used a hot glue gun).
The die features two pictures for each vowel:
A - apple, anchor
E - egg, envelope
I - igloo, ink
O - octopus, ostrich
U - umbrella, underwear
Find small but different items to use as game pieces. We used two oversized buttons. LEGO minifigures, a penny and a dime, or Monopoly pieces would work perfectly too.
How to Play
The youngest player rolls the die. Whatever picture lands up, they must identify the object, and listening carefully to the beginning sound, identify the first letter of the word. Once this is accomplished, they move their game piece to the first occurrence of that letter on the game board.
The next player takes a turn. The first player to get to the last letter on the board is declared the winner!
Monday, April 13, 2015
After School Linky (4-13)
Welcome to the party!

Thanks for stopping by. And to all the fellow bloggers who spend a little time here (or my co-hosts' sites), thanks for being so dedicated to your child's learning and sharing with us!
Here are few of my favorite ideas and activities shared during last week's link-up.
Earth
Month Scavenger Hunt: Teaching Kids How to Make an Impact at KC Edventures
Fun
Science Experiments - Pollination at JDaniel4's Mom
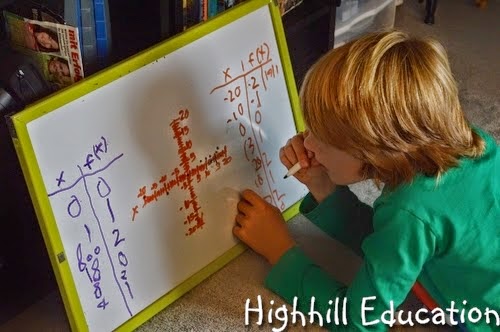
Function
Machine at Highhill Education
FREE Ice
Cream Math Matches from Mom on the Move
Montessori
Continents 3-Part Cards and World Map Printables at Gift of Curiosity
Free
Earth Day Printables and Activities from Living Montessori Now
The After School Linky is cohosted by
Relentlessly Fun, Deceptively Educational
We would love to have you link up your School-Age Post (Ages 5 and up) about your learning week after school including Crafts, Activities, Playtime and Adventures that you are doing to enrich your children's lives after their day at school, home school, or on the weekend!
When linking up, please take a moment to comment on at least one post linked up before yours and grab our after school button to include a link on your post or site! By linking up, you're giving permission for us to share on our After School Pinterest Board and feature an image on our After School Party in the upcoming weeks!
Friday, April 10, 2015
Shadow Portraits (an art project)
It's been awhile since my boys and I created art together. My oldest son isn't much of a fan, but needs the fine motor practice and my youngest has declared that he's going to be an artist when he grows up. This is a perfect example of how different my two sons are.
I was pleasantly surprised when BOTH boys enjoyed this project. It's simple and the final effect is really cool.
Here's how we made shadow portraits.
Step 1
Draw a picture of yourself (your whole body, not just your head). When my oldest son struggled with the "make your person thick" direction, having drawn only a stick figure, I gave him a new sheet of paper and better directions.
(First draw an egg toward the top of your paper. Now draw two short parallel lines for it to sit on [the neck]. For your body, draw a rectangle. Then make a trapezoid shape below it and make a V in the bottom to separate your legs. Add ovals at the bottom of your legs for shoes. Now add arms, making them bend at the elbow, starting from the top of the rectangle [the shoulders]. Add facial features and hair and color clothes.)
Step 2
Once drawn and colored, we placed a piece of black construction paper under our drawing. Then, we picked up both papers and cut out our full-body portraits, being careful to keep the two papers together. For my 5 year old, I cut around some of the delicate parts, then added a few small paperclips to keep the papers together as he finished cutting.
Step 3
Once complete, we glued the black silhouette onto a piece of colored construction paper. We glued our colored portrait on the paper too, but this time just an inch or two away from the silhouette. Instantly, the portraits had shadows!
Step 4
Lastly, the boys glued some colored squares of paper around the edges to finish their masterpieces.
I think these turned out wonderfully!
Want to pair it with a book or two on shadows. I'd highly recommend these! They both help explain the science behind shadows.
This great activity came from An Art Room Filled with Fauves. Stop by to see the extraordinary examples made by this art teacher's 2nd graders!
Extension: Go outside on a sunny day and have kids take turns outlining each other's shadows with sidewalk chalk. It's a blast!
I was pleasantly surprised when BOTH boys enjoyed this project. It's simple and the final effect is really cool.
Here's how we made shadow portraits.
Step 1
Draw a picture of yourself (your whole body, not just your head). When my oldest son struggled with the "make your person thick" direction, having drawn only a stick figure, I gave him a new sheet of paper and better directions.
(First draw an egg toward the top of your paper. Now draw two short parallel lines for it to sit on [the neck]. For your body, draw a rectangle. Then make a trapezoid shape below it and make a V in the bottom to separate your legs. Add ovals at the bottom of your legs for shoes. Now add arms, making them bend at the elbow, starting from the top of the rectangle [the shoulders]. Add facial features and hair and color clothes.)
Step 2
Once drawn and colored, we placed a piece of black construction paper under our drawing. Then, we picked up both papers and cut out our full-body portraits, being careful to keep the two papers together. For my 5 year old, I cut around some of the delicate parts, then added a few small paperclips to keep the papers together as he finished cutting.
Step 3
Once complete, we glued the black silhouette onto a piece of colored construction paper. We glued our colored portrait on the paper too, but this time just an inch or two away from the silhouette. Instantly, the portraits had shadows!
Step 4
Lastly, the boys glued some colored squares of paper around the edges to finish their masterpieces.
I think these turned out wonderfully!
Want to pair it with a book or two on shadows. I'd highly recommend these! They both help explain the science behind shadows.
This great activity came from An Art Room Filled with Fauves. Stop by to see the extraordinary examples made by this art teacher's 2nd graders!
Extension: Go outside on a sunny day and have kids take turns outlining each other's shadows with sidewalk chalk. It's a blast!
Wednesday, April 8, 2015
Rotation Reflection Translation Game {free printable}
My son brought his Geometric Patterns homework home last week and unlike most of his math homework, it took him more than 5 minutes. I even heard him mutter, "This is kinda hard," under his breath.
I took a good look. I had the same thought I usually have when I look at worksheets: This would be a lot more fun if learning felt like playing a game.
And so an idea was born.
This game practices identifying three types of transformational geometry.
- Rotation (when a shape is turned)
- Reflection (when a shape is flipped backwards, showing its mirror image)
- Translation (when a shape is simply moved)
The game is simple. Print one or two sets of the cards I made, along with the game boards. Cut apart. You can download the free 5-page PDF I made from Google Drive here.
Each player gets their own game board. Shuffle the cards and place them in a pile between players face down. Each player should place a game piece (we used those flat glass baubles) on the START circle.
Player 1 will draw the top card on the deck and if the card they draw illustrates geometric transformation (rotation, translation, or reflection) that is noted in the circle next to the start, they'll place another game piece on that circle. If it does not, no game piece is played. Player 2 draws the next card.
The player to have game pieces on every circle on their game board first wins.
Monday, April 6, 2015
After School Linky (4-6)
Welcome to the party!

I hope you all are enjoying spring! The warmer temperatures seem to have inspired some great outdoor learning. Check out some of my favorite ideas and activities from last week's party.
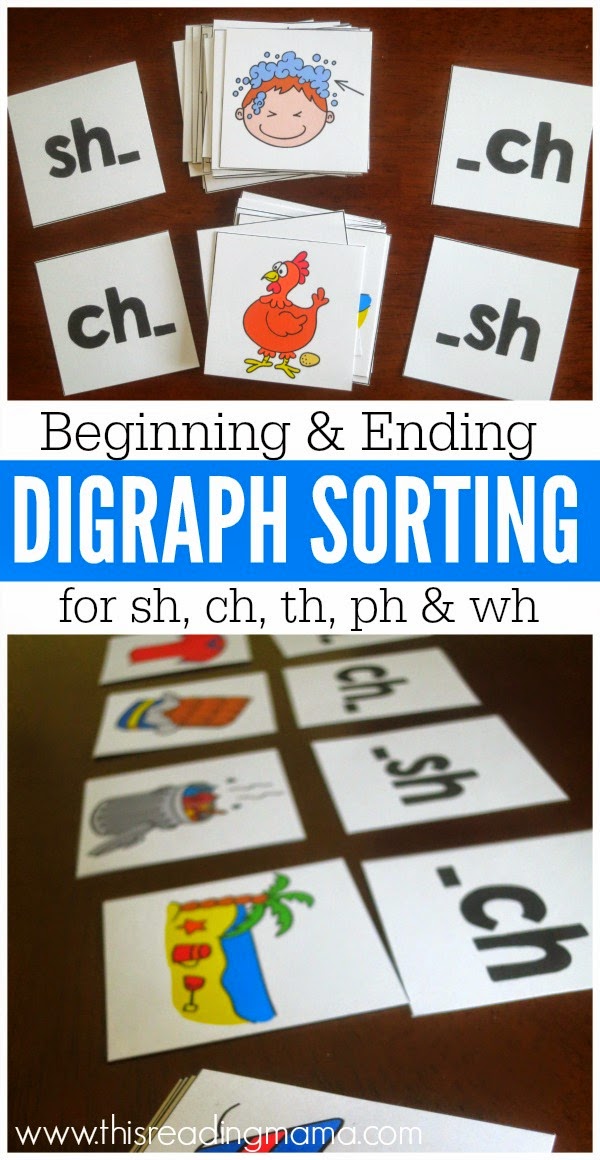
Digraph
Sorting Picture Cards {for beginning and ending} at This Reading Mama.
Number
Line Secret Code at Creative Family Fun.
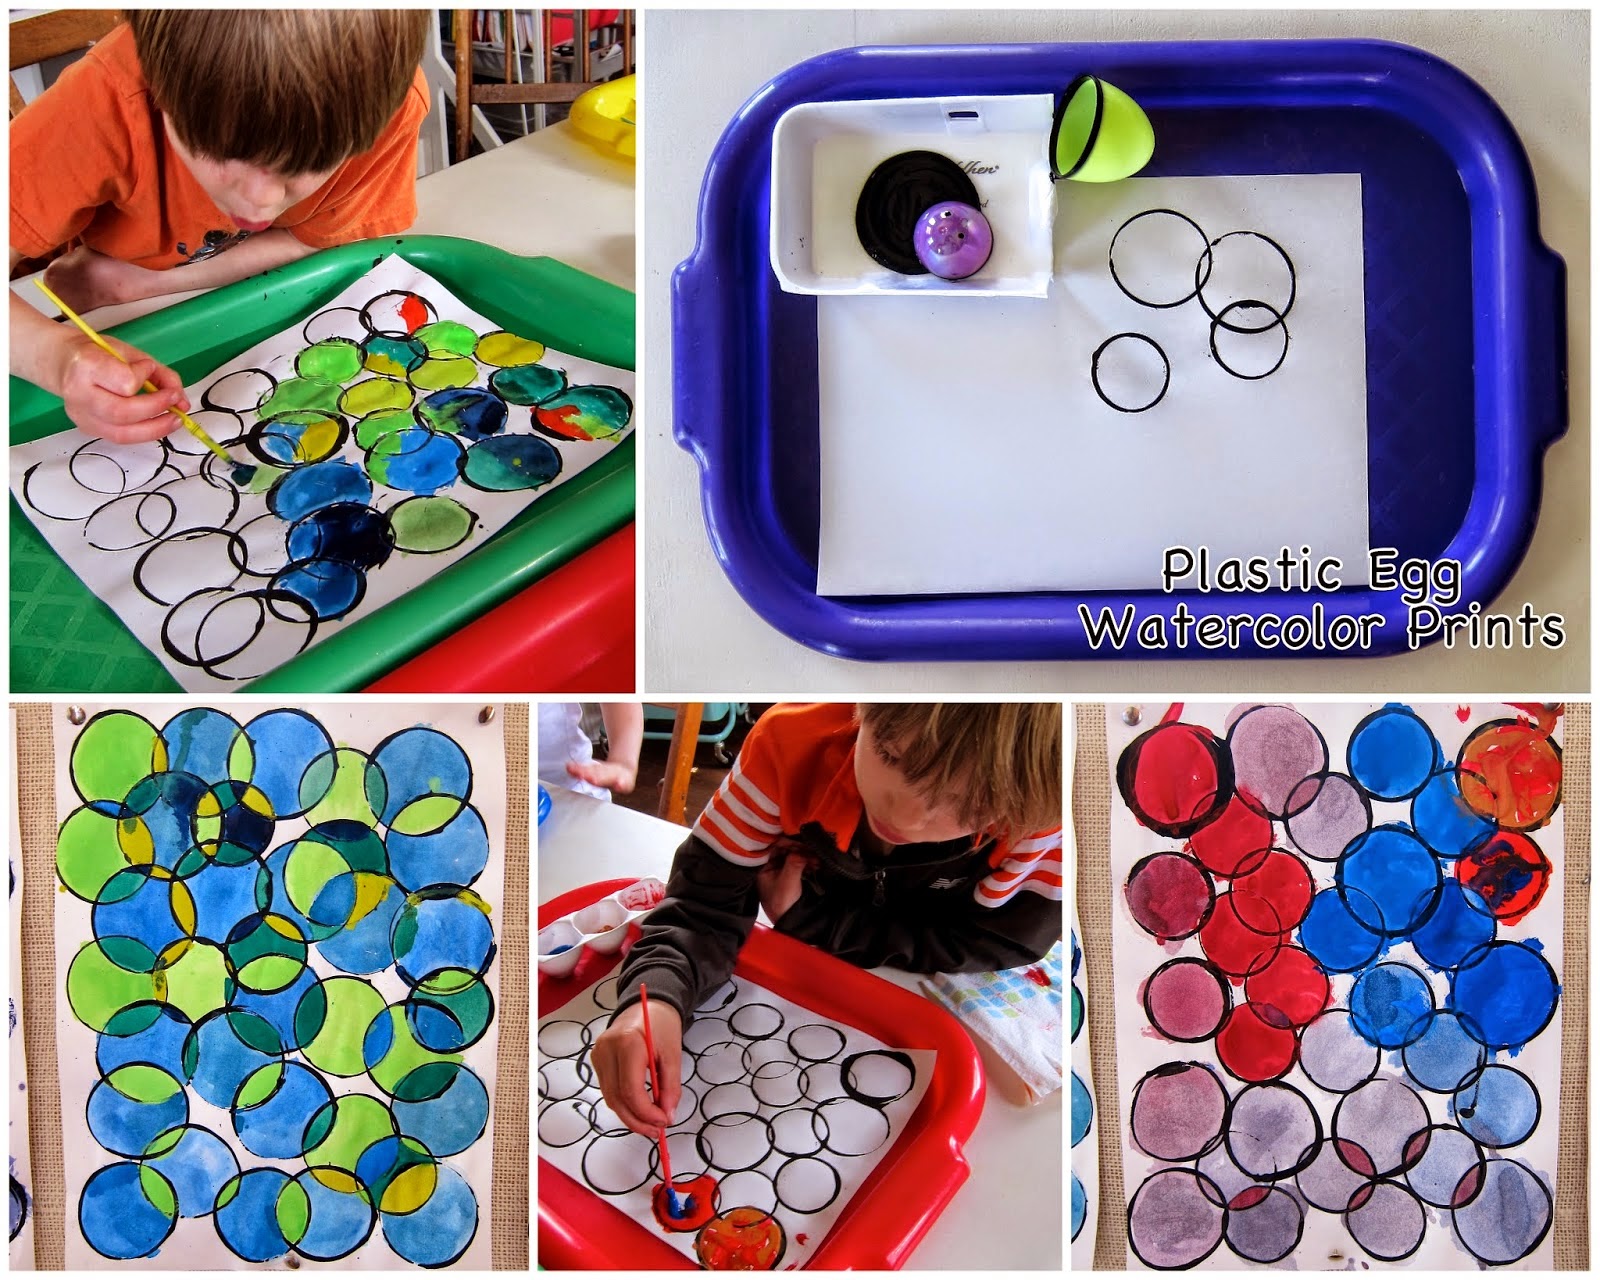
Plastic
Egg Watercolor Prints at Joyfully Weary.
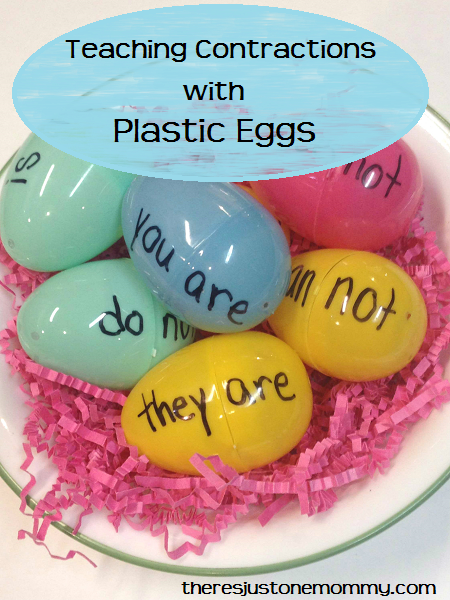
Plastic
Egg Learning Activity: Contractions at There's Just One Mommy.
Make Your Own pH
Indicator Using Red Cabbage at The Science Kiddo.
Signs
of Spring Nature Walk Free Printables at Castle View Academy.
Passover
Science: Turn Water into Blood at Planet Smarty Pants.
The After School Linky is cohosted by
Relentlessly Fun, Deceptively Educational
We would love to have you link up your School-Age Post (Ages 5 and up) about your learning week after school including Crafts, Activities, Playtime and Adventures that you are doing to enrich your children's lives after their day at school, home school, or on the weekend!
When linking up, please take a moment to comment on at least one post linked up before yours and grab our after school button to include a link on your post or site! By linking up, you're giving permission for us to share on our After School Pinterest Board and feature an image on our After School Party in the upcoming weeks!
Subscribe to:
Posts (Atom)