Monday, November 7, 2011

Multiplication with Eric Carle’s Zoo


I like Eric Carle’s books. Way back when my son was a toddler I ordered 1, 2, 3 to the Zoo from a Scholastic book order, expecting to love it as much as Brown Bear, Brown Bear. Imagine my surprise when I opened it to find no words. Not a single one.

At that age, my son enjoyed identifying and counting the animals on each page. And let’s not forget about that adorable little mouse. What a joy it was to point him out!

As my son grew older, the book was ‘read’ less and less. Until last week, it was collecting dust on the shelf. I realized then that it was a perfect book to practice multiplication.


I whipped up a two-page worksheet to accompany the book. It asks questions like how many hippos do you see (2), how many teeth does each hippo have (8), and how many teeth do both hippos have (2 x 8 = 16).

Download this 2-page PDF here.
My son went page-by-page answering the questions, first counting the number of animals on the page, and then counting the particular body part (tail, legs, eyes, etc.) that each animal had. Then he answered each multiplication problem, using skip counting (by 2s, 5s, or 10s) when possible.
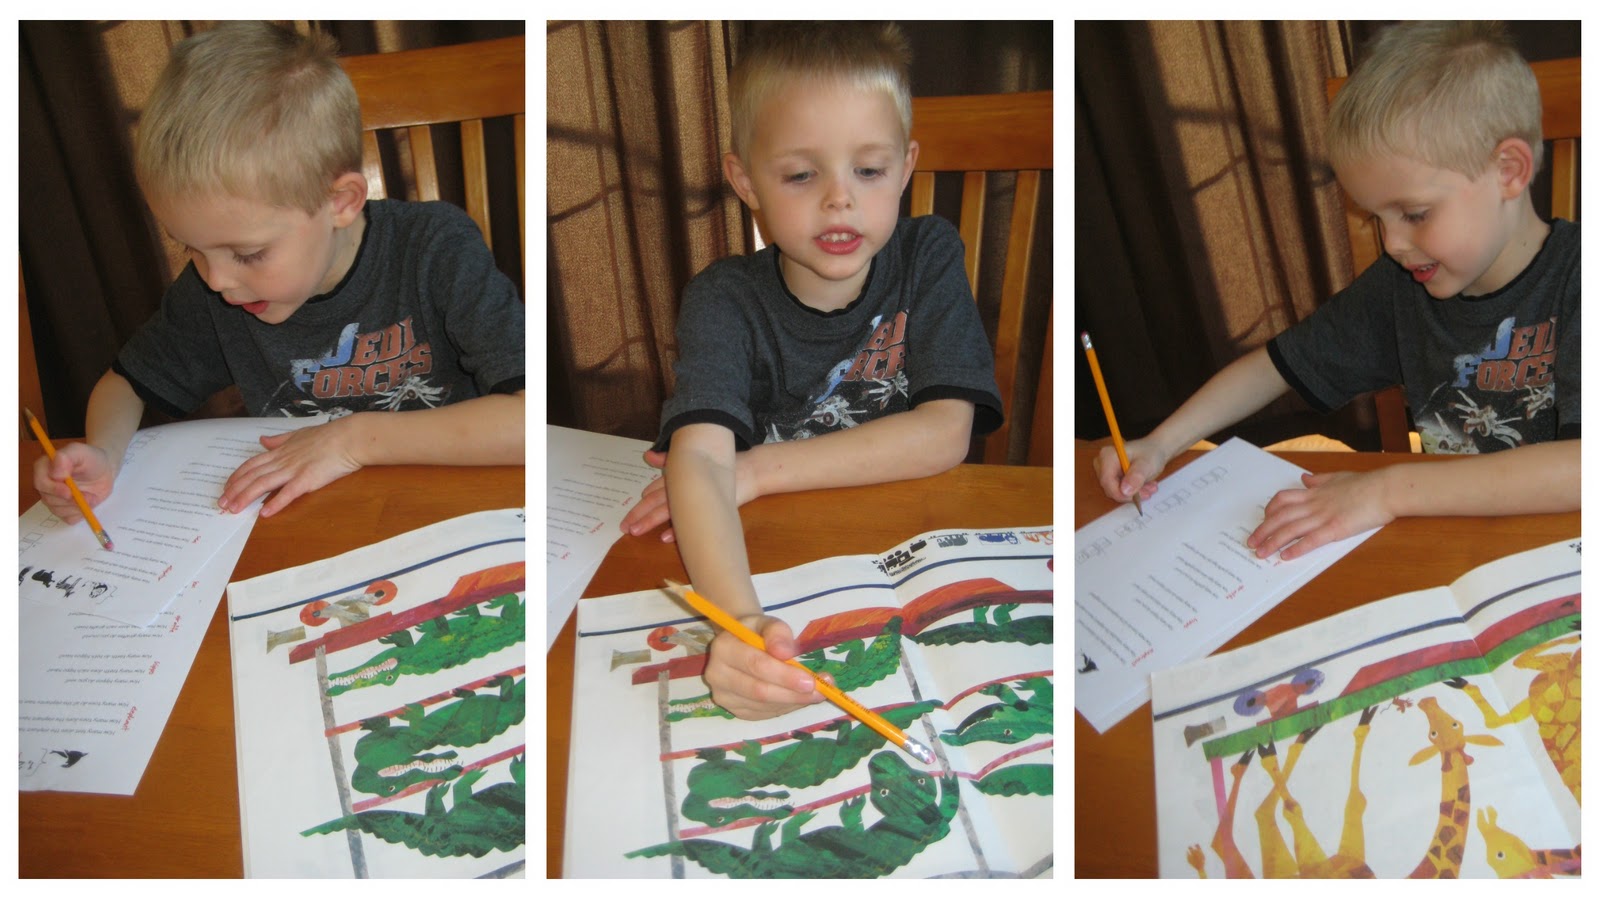

He had no trouble whipping through the 10 problems, and was SO proud to remember the rules when multiplying times 1 and 0.

He really enjoyed this activity. I really enjoyed reconnecting with Eric Carle’s charming book.

Friday, November 4, 2011

Twist-a-Letter Word Maker


Educational toy stores take a close second behind book stores on my list of favorite places to shop. When we were shopping not that long ago at one downtown, I spied a little toy that I just couldn’t get out of my head. Just because its price tag was higher than I was willing to pay, doesn’t mean I wanted to deprive my son of the experience it could provide. I don’t know what it was called, but I’ve named my DIY version the Twist-a-Letter Word Maker.

What you need:

  • 1 ¼-inch plastic PVC pipe, cut with a hacksaw to about 12 inches long (costs about $2)
  • An empty paper towel tube
  • 1 sheet of sticker paper
  • 2 rubberbands
  • A 1-inch by 8-inch strip of heavy-duty laminate (I used a scrap from another project)
  • Exacto cutting blade
  • Fine-tip black permanent marker

TIP: Take your paper towel tube to the home improvement store with you. It should fit very snugly over the pipe. If it doesn’t, you haven’t found the right size. My hubby kindly cut ours, but you might ask if an employee at the store could cut yours while you’re there.

Once your PVC tubing has been cut, slide the paper towel tube over it. Now print the PDF I made with letters on it onto a sheet of sticker paper; cut the columns of letters where indicated. Keep the strips in order. Wrap the end with the excess paper first, so the end of the strip with the letters closest to it overlaps the plain paper. Wrap the first strip around the paper towel tube next to the tube’s left edge.

Carefully use an Exacto knife to cut the paper-towel tube right next to the edge of the sticker paper you just applied. Once it has been cut, add the next strip to the remaining piece of the tube. Make sure the letters are right-side up. Continue to use the strips as a guide and cut until all the lettered sticker columns have been applied to the tube and cut into rings.

Now draw an open rectangle (mine was approximately ¾-inch by 6-inches) with permanent marker in the middle of your strip of lamination. Place this over the top of your lettered rings on the PVC pipe and use rubberbands on either end to hold the lamination in place. Now you can rotate the lettered rings and align them inside the rectangle to make words. All that’s left to do is hand it over to your child.

Set the timer and let the word-making begin!

I gave my son seven minutes to see how many words he could make. When the timer went off, he had 10 words on the page.


Next time we “play” with the Twist-a-Letter Word Maker, my son can work on beating his 10-word score! 

Wednesday, November 2, 2011

DIY ‘African’ Mask & Printable Book


In college, I volunteered as a docent in a museum that had an incredible collection of African art. Some of the other docents avoided that gallery like it was cursed, but I loved parading groups of adults and children through there. My art history classes had taught me enough to help me explain the art in a way that people could relate to. Once you understand it within the context of your own life, customs, and society, its beauty and craftsmanship are especially inspiring.

I hit the library to see what wonderful literature could help my son relate to African masks and how/when they were worn. Um … well … it wasn’t exactly a successful trip. While I’m sure someone has written amazing books paralleling African art and traditions with our own North American customs, my library didn’t have any of them. Not to be discouraged, I made my own printable book.

This book shows where in the world Africa is, and draws comparisons between Western theatre, Halloween, and superheroes and the masks of Africa. Feel free to print the book I made; Download the first three pages, flip over the stack of papers and download and print the second three on the back. Reorder the pages, fold in the middle, staple on the fold and share with your child(ren).


Use a plastic milk jug as a mask.

Earlier in the week, I shared with my son the one book I did find at my local library: Carol Finley's The Art of African Masks. We looked at the book's pictures together.


Then, I told my son we were going to make a mask and asked him to identify shapes for the eyes and mouth. Once he showed me what he liked, I cut an empty gallon-sized plastic milk jug in half, and used an Exacto knife to cut out eyes and a mouth in the shapes he’d identified.

The eyes were cut on either side of the jug’s handle (which serves as the nose). Then, I used a paper punch to add holes, where I would tie elastic cord later. I painted the jug beige using Krylon Fusion spray paint for plastics. (In hindsight, the paint was probably unnecessary.)


Decorate the mask.
After we read and completed the printable book I made, I handed my son lots of different bits and bobs to use to decorate his own ‘African’ mask (e.g. a dried-soup bean mix, ric-rac trim, dried pasta, raffia, buttons, etc.). We worked together to add the embellishments; I placed lines of low-temp glue wherever he instructed.


He added elbow macaroni around the eyes for eyelashes and ric-rac hair, taking his time to get it just right. He sorted the beans. He made AB patterns with the pasta. And he did those things without my suggestion! I was super impressed with the final product. Once the glue had set, I tied elastic string around the back so he could wear it. I thought the mask was done.

I was wrong.

For the next two days, he continued decorating the mask – now with permanent markers. I loaned him my Sharpie collection and watched as the mask I already thought was amazing became EVEN MORE incredible (see the picture at the top of this post).

He loves his new ‘African’ mask, even wearing it occasionally when we play card games or watch TV. I did have to draw the line at wearing it during dinner though (even with it pushed up on his forehead).

Monday, October 31, 2011

Shut the Box Dice Game

I’d love to claim this idea as my own, after all its simplicity is brilliant and what it teaches is incredibly useful. But, alas, this game is not my brainchild. Disney’s FamilyFun magazine shared this idea in the November 2011 issue. My take on it follows.

Shut the Box is a great dice game that gets children thinking about different combinations of numbers that can be added to equal a sum.

Supplies:
Cardstock
Nine 3” x 4” toploading trading card sleeves (optional)
2 dice
Pencil and paper for score keeping

I designed a PDF of cards with each of the numbers 1-9 on them and printed the pages on cardstock. I flipped the pages over and printed Shut the Box graphics on the back so the cards would be double-sided. Then I cut out the cards and slid them into some trading card sleeves (while the sleeves are unnecessary, they make the cards more durable; lamination would serve the same purpose).

Then, I laid the cards out in order with the numbers face up on the table and handed my son two dice. He rolled the dice and added the two numbers together. Then it was up to my son to decide what two combination of numbers (that would add up to the sum) to flip over.

If he rolled a six and one, he added the numbers to get a sum of seven. He could flip over any two cards with numbers that added up to seven; for example, three and four, five and two, etc. Once the two cards were flipped (showing the Shut the Box graphic), he rolled the two dice again, continuing to flip over cards until he rolled a sum that could not be made with the existing cards. Play stopped and the remaining numbers were added together for his round 1 score.

Now it was my turn. We flipped over the cards so all the numbers were face up. I played until the sum I rolled could not be made with the remaining cards, added the numbers face-up, and we determined who won round 1. (He had a lower score than me.) We played three rounds and have played several times since that day.

We have yet to Shut the Box (getting ALL the cards turned over in one round). It sure is fun trying, though!

Click here for a 3-page PDF of the Shut the Box cards I made. Print pages 1-2; flip the pages over and print two copies of page 3 on the backs.

Friday, October 28, 2011

Snappy the Syllable Turtle [Board Game]

Now that my son has banged out some funky beats on his syllable drum, I thought he’d enjoy playing a syllable board game.

After seeing the most adorable snapping alligators people were making and sharing on the Internet (find one example here), I thought I’d try my hand at making a snapping turtle.

We affectionately named him Snappy.

How to Make a Snapping Syllable Turtle
Salvage some corrugated cardboard from your recycling bin (I used an empty box of diapers). You only need a small piece. Fold it in half and draw a turtle shape with the rear of the turtle shell on the fold. My turtle was nothing more than an oval with a smaller circle peeking out from one end. Cut it out.

Next glue two metal bottle caps on each side of the turtle inside so that when you pinch the turtle together it makes a snapping sound. I used super glue and held the caps in place with rubber bands until the glue had dried.


Next, decorate your turtle however you desire. My son painted his in a combination of greens and brown. I used a hair dryer to speed up the drying time and then added some details to the shell with a permanent marker; lastly, my son glued on some googly eyes.

Read
While this activity is really about word work, I wanted to sneak in some science. We read two books to learn about turtles, one of the most interesting amphibians. I read the first book. My son read the second.


Play the Board Game
Download and print the game board (pictured below) and playing cards I made here.


Use something small as chips to move around the board (we used two different colored buttons). This two-player game is easy. Each player draws one card when it’s their turn, reads the word, and uses Snappy to snap the number of syllables in the word. Then they move their chip the same number as the syllables they counted. Play continues until one player finally reaches the finish and successfully helps Snappy return to his home in the lake.

Snapping the syllables with our homemade snapping turtle was so much fun for my son, he often did it for me when it was my turn!