
Our art projects have to have a serious wow factor. My
boys don't have the interest or the patience to work on a piece gradually over
several days. Mixed media that seems as much like magic as it does art is right
up their alley.
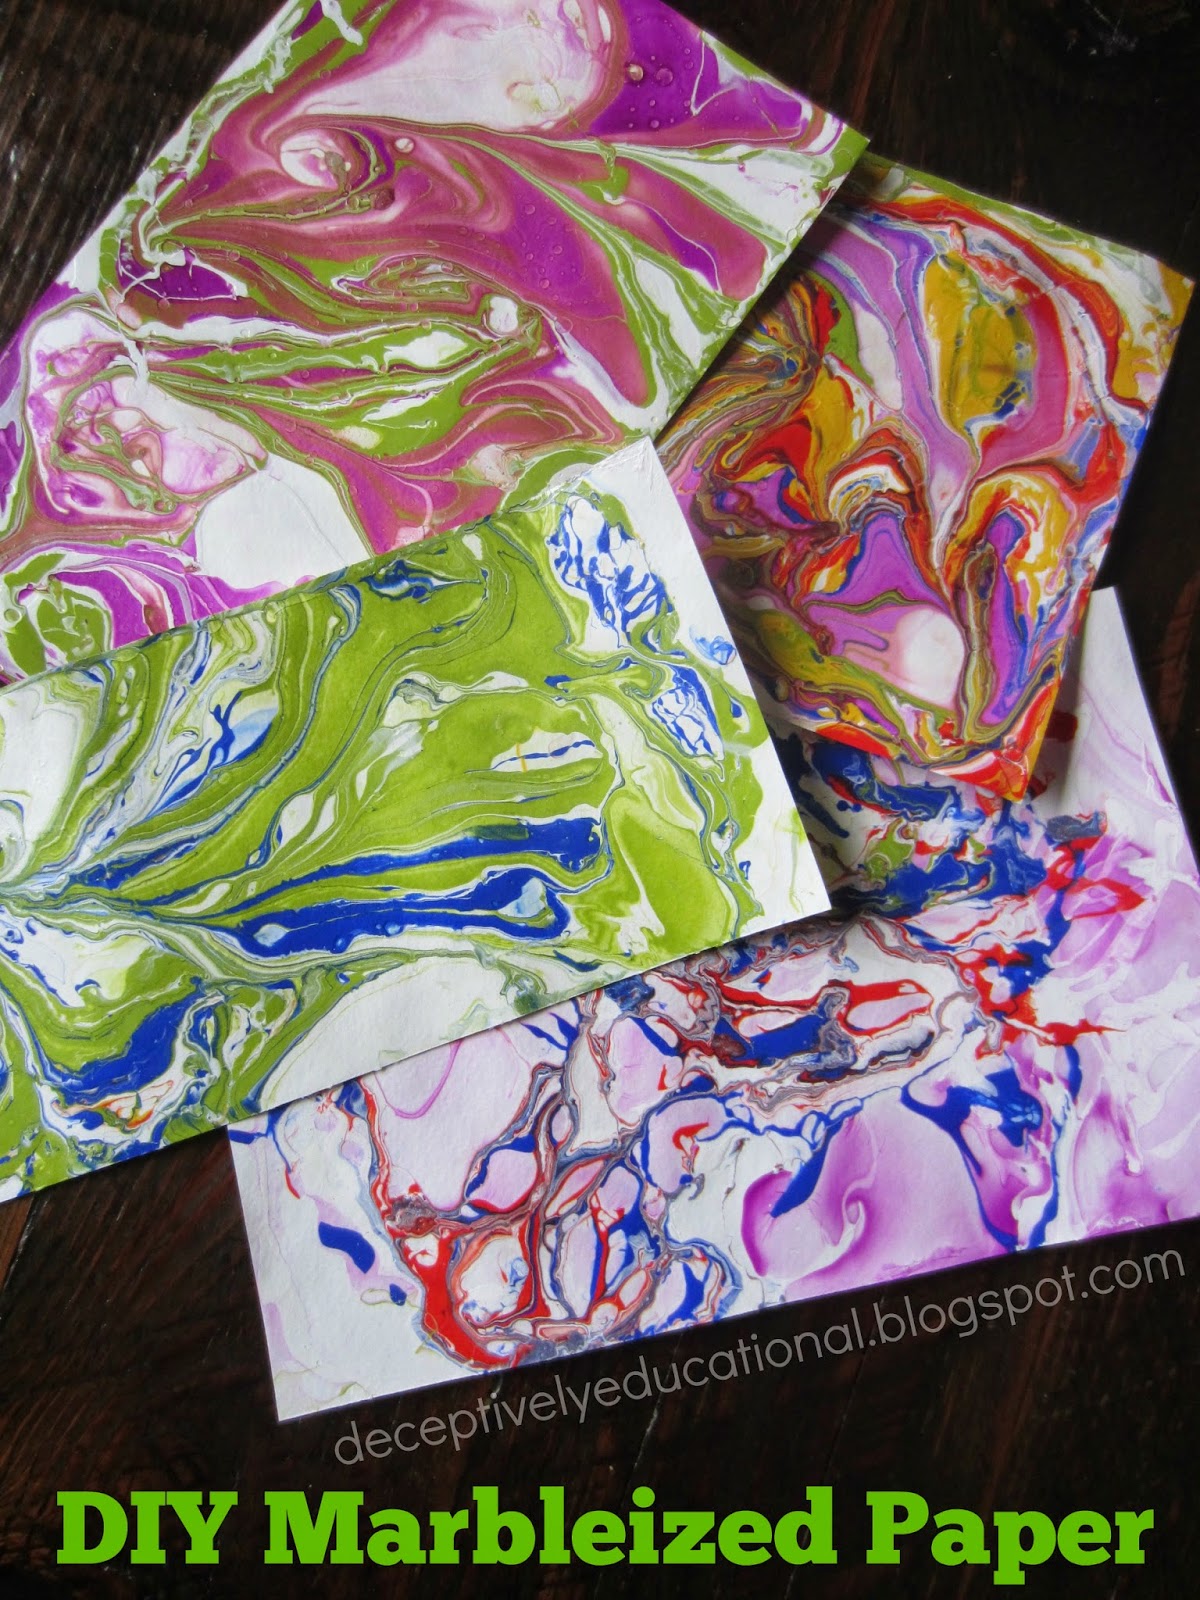
Marbleizing paper is so much fun and surprisingly easy,
too!
Before I provide a supplies list and instructions, I need
to issue a disclaimer. This project stinks (literally, not figuratively). You HAVE to work in a
well-ventilated area. What you can't see in my pictures are the two windows
that I threw wide open to dissipate the fumes. Nail polish smells B-A-D.
Supply List
Watercolor paper (or another paper of heavy weight)
Nail polish in as many colors as you'd like
A disposable pan that your paper will fit into
Water
Plastic to cover your work surface
Gloves
Well-ventilated space
Tool to swirl the colors with (we used the wooden ends of
paintbrushes)
Instructions
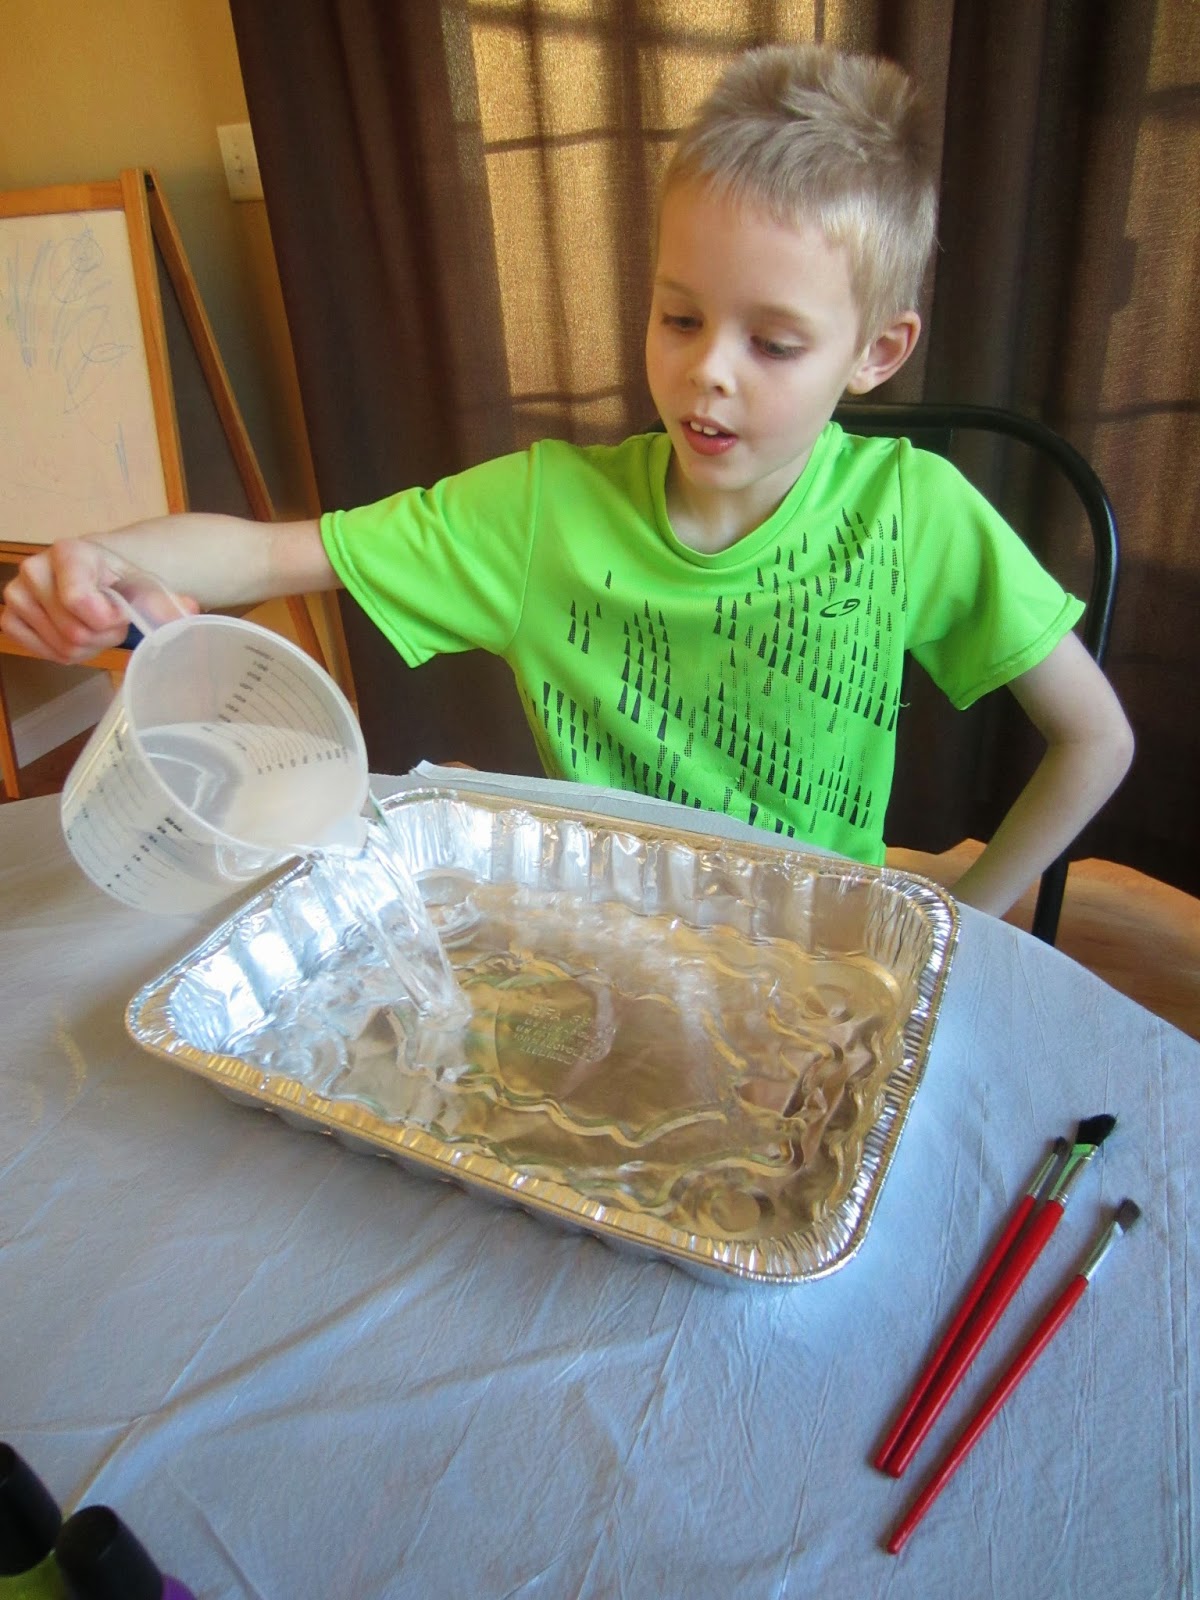
1. Fill your pan with an inch or two of water.
2. Gently drizzle nail polish in the pan. The goal is to
pour it thin enough that it sits on the surface of the water.
3. Add another color (or two or three).

4. Drag your tool through the nail polish until you get
the desired effect.

5. Softly lay your paper on top of the water and press
the corners slightly to make sure they pick up the color.

5. Carefully peel the paper off the water and set face-up
to dry. We let our marbleized masterpieces dry for a full 24 hours and since
they were still pretty stinky, I put them on our screened in porch outside. The
more time passes, the less fragrance they emit.
There are lots of opportunities for learning with this
activity. Talk to your kids about the history of marbleized paper, ask questions
like "why does some of the nail polish stay on top of the water?," "Why
does it cling to the paper?," etc.
Aren't they stunning?

Stop back later this week to see
how we are using our marbleized paper!
No comments:
Post a Comment