I've seen this experiment on loads of blogs and for good reason. It's guaranteed to make kids' jaws drop. It seems more like magic than science.
Here's how we poked holes in a bag without it leaking.
Step 1: Sharpen pencils to a fine, sharp point.
Step 2: Fill up a clear zip-top plastic food storage bag so it is 2/3rds full of water and seal it closed.
Step 3: Hold the bag up and slowly insert pencils piercing the plastic, going through the water, and out the other side of the bag. Make sure you don't poke the eraser all the way through. Why stop with one? Keep putting pencils in!
Step 4: Be amazed that the bag isn't leaking.
Step 5. Move the bag to the sink to remove the pencils. Water will squirt out everywhere!
Invite kids to form a hypothesis about why this works. My boys thought the pencils were so tight that the bags didn't leak. They were close. The polymers in the plastic are chains of molecules that separate but don't break when poked with the pencil. They squeeze in so snugly around the pencil, it forms a tight waterproof seal.
This experiment came from the fabulous Steve Spangler.
Friday, October 24, 2014
Wednesday, October 22, 2014
Collect, Sort, Graph, & Count Fall Leaves
The Autumn foliage colors peaked here last weekend. We
soaked in the opulence during a trip to a state park, apple orchard, and CSA
farm. The family fun was a springboard for several leaf activities, all of which
were fun.
1. Fall Leaves
Hunt
The last leaf hunt my son went on, we packed some crayons
and made rubbings. This time, we left the crayons at home and just let our eyes
search out eight various types of leaves. (Click the picture below to download a free PDF of the ID page I made.)
I clipped a page with the names and
images as a cheat sheet onto a mini clipboard. It was up to him to make tally
marks or simply X through the names or images. We tucked the leaves in a
gallon-size ziploc as we walked the trail.
2. Sort by Color
and Make a Life-Sized Graph
I pressed the leaves between layers of paper towels
(since a few were wet) under a heavy book. The next day, they were ready for us
to use. I grabbed some leftover painters tape and made a big grid on the carpet
in our living room. I made red, orange, yellow, green, brown, and purple cards
as well as a numbered set. I placed these on the grid to complete our empty
graph.
It took the boys no time at all to deduce what they were
to do. They immediately set to work. "Is this purple or brown," they
would ask each other. I loved their decision-making and how well they worked as
a team to complete the graph.
When it was done, there was a three-way tie between
brown, yellow, and red leaves. (This idea came from Little Giraffes.)
3. Sort and Graph
by Type
When we'd finished our leaf color graph. We removed the
leaves and the color cards, and I placed two other cards at the bottom of the
graph: maple and oak. Now they graphed which we had more of. The clear winner
was maple!
4. Arrange from
Smallest to Largest
As they cleared the graph of the leaves, I grabbed several
and asked our 5-year-old to put them in order from smallest to largest. He was
a little lost at first but I asked him to "Find the smallest leaf"
and it was removed. Again, "What is the smallest leaf now?" And so it
went until we had them all lined up.
5. Preserve by
Laminating
Lastly, the boys picked their favorite leaves from our
collection and I put them in plastic laminating sleeves, running them through
my personal laminator, to save and admire for weeks and months to come. They
look like stained glass in our window! (This idea came from Mama Smiles.)
Monday, October 20, 2014
After School Linky 10-20
Welcome to the After School Linky Party!
Did you go pin crazy at last week's party? There were SO MANY great ideas and activities!
Here are a few of my favorites.
DIY
Refrigerator Letter Magnets at Look What Mom Found
Fire
Safety Week at Planting Peas
Great
Halloween Science Experiments at Science Sparks
Sensory
Needs of Regular Kids - Touch at Planet Smarty Pants
Gruffalo
Themed Shape Animals at The Educators' Spin on It
Which
Witch is a Real Witch? A Lesson in Density and the Middle Ages at The
Science Kiddo
Word
Family Blackout at This Reading Mama
What have you been doing with your kid(s)? Please share!
The After School Linky is cohosted by
Relentlessly Fun, Deceptively Educational
We would love to have you link up your School-Age Post (Ages 5 and up) about your learning week after school including Crafts, Activities, Playtime and Adventures that you are doing to enrich your children's lives after their day at school, home school, or on the weekend!
When linking up, please take a moment to comment on at least one post linked up before yours and grab our after school button to include a link on your post or site! By linking up, you're giving permission for us to share on our After School Pinterest Board and feature an image on our After School Party in the upcoming weeks!
Friday, October 17, 2014
Magnetic ABC Ocean
There's just something about magnets. Kids love 'em. My
boys are no exception.
I made a fun way for my 5-year-old to practice letter
recognition using two magnets. This is an easy, low- or no-cost activity that's
great for working on the alphabet or even spelling.
Supplies
Disposable dinner-sized paper plate
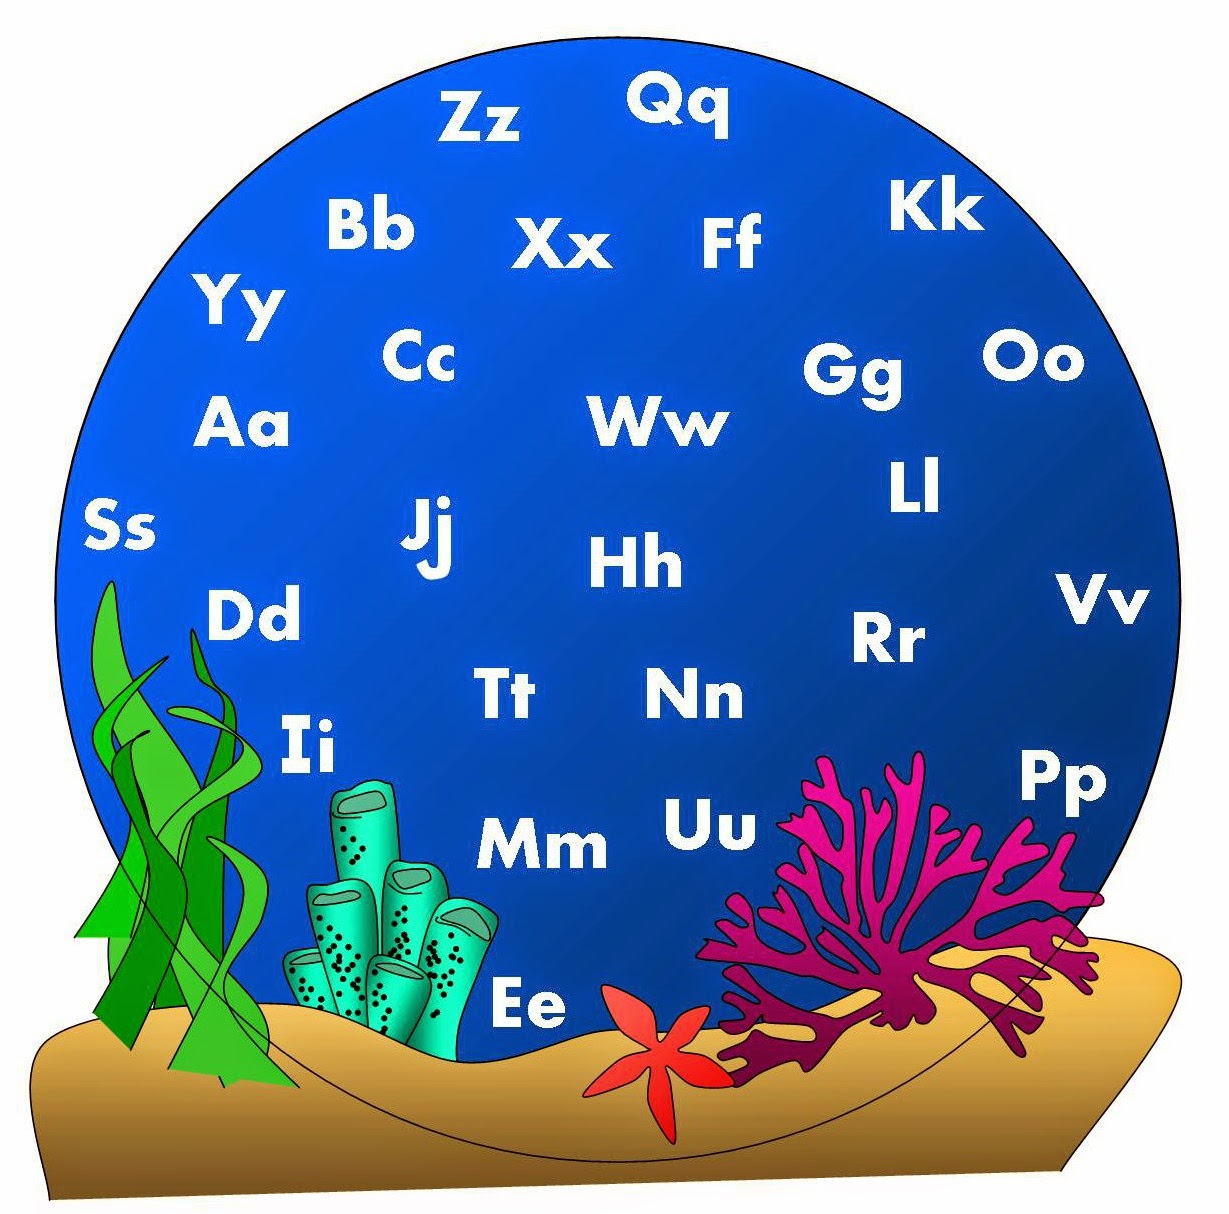
Ocean scene (download the one I made as a free PDF here)
Sticker paper (or regular office paper and a glue stick)
Two magnets (one decorated with a fish button, sticker,
etc.)
Scissors
Assembly
Print the ocean scene and cut it along the circle
guideline. Attach to your paper plate.
How to Play
Put the fish magnet on top of the ocean scene, and the
other magnet under the plate. By moving the bottom magnet, your child will be
able to make the fish swim from one letter to the next in the ocean.
You can call out the letters in the alphabet, have them
move the fish through the letters in their name, or even practice their
spelling words.
This is surprisingly captivating and held my young son's
attention much longer than I anticipated. When he grew weary, we read two great books.
Wednesday, October 15, 2014
5 Senses FREE Printable Board Game
Our 5-year-old was learning about parts of the body in
his alternative kindergarten class a week ago. I thought it would be fun to
focus on the five senses, engaging him with a board game played like Candyland.
It was fast paced and fun and will most certainly because
of the repetition help him remember what all five senses are.
Constructing the
Game
Download a 3-page PDF of the game I made here. The file
includes a spinner and a two-page game board.
Print the spinner on sticker paper (or office paper and
use a glue stick). Adhere it to a thin piece of cardboard (an empty cereal box works
perfectly) and cut it out. Use a nontraditional paper punch to make a small
hole in the center. Thread a brad through a paper clip and into the hole,
separating the brad at the back. Make sure there is enough slack for the
paperclip to spin freely.
Trim the game board pages if necessary (most printers
don't print full-bleed and leave a white edge along the border) so that they
match perfectly along the center. Tape in place.
Now all you need is a different game piece for each
player. Use LEGO minifigures, different colored buttons, glass baubles, or even
chocolate candies.
How to Play
The first player flicks the spinner and moves their game
piece to the sense indicated by the paperclip. For instance, if they spin and
the paperclip points to the stinky-smell-wrinkly-nose picture, then the player
moves their game piece to the first stinky-smell-wrinkly-nose pictured space on
the game board. If the space the spinner stops on has a "2" on it,
they move their game piece to two stinky-smell-wrinkly-nose pictured spaces
(for example).
As players approach the end, the spinner must land on the
last sense on the board in order for him/her to finish the game. The first player
to succeed at this is the winner!
Play and Read
There are loads of great books on the five senses. These
were my boys' favorites.
Our 5-year-old son and I read My Five Senses by Aliki. This book begins very simply, with one sentence per page explaining each of the five senses and builds to get kids thinking about when they're using more than one of their senses at once. The colored pencil illustrations are charming and the text is simple enough so as not to be overwhelming for younger kids who are just being introduced to the subject.
Our 9-year-old read You
Can't Taste a Pickle With Your Ear: A Book About Your 5 Senses by Harriet
Ziefert with illustrationS by Amanda Haley. The book and its whimsical pictures
could very easily trick you into thinking it's all fun and no facts, but you'd
be mistaken. Facts and explanation about how the body works are also included.
Brilliant!
Subscribe to:
Posts (Atom)