Friday, September 30, 2011

Roll & Write (with a DIY Dry-Erase Die)


It’s happening – homework! Soon after my son began first grade, he started toting home a list of five words each week. I’ll admit, I wasn’t sure what to do with them. After all, my son could read them without any difficulty and so I just tossed the lists in our mail/bills/household paperwork pile (please tell me we’re not the only family with one of those).

Then a friend whose boy is my son’s best friend enlightened me. Just because my son could read those word-wall words, doesn’t mean he could spell them. Yikes! After mentally beating myself up for a few days, I came up with this little “reusable” activity so those weekly words could get practiced.

First, I made a dry-erase die. To do this, I created a template with squares the same width (2 inches) as Scotch brand packaging tape. I printed it on sticker paper. Then I used post-it notes to mask off the flaps where I’d be gluing the little box together (I didn't think the glue would stay adhered to the slick tape). I added the packaging tape and anywhere that the tape overlapped a sticky note, I carefully lifted the edge of the note and cut along the edge with an Exacto knife.

Afterwards, I peeled the sticker paper's backing off, and stuck the template to the brown side of an empty cereal box I used for sturdiness. Then I cut the whole template out with that same Exacto knife, using a ruler as a straight edge and a cutting board underneath to protect my work surface. 

Once it was cut out, I turned it over and used a ruler and the backside of a butter knife to score the cardboard wherever folding was necessary. Lastly I used my hot glue gun to glue the flaps one or two at a time and folded the box together until the template became a cube. Voila! The tape makes a perfect dry-erase surface!

Next, I used Microsoft Publisher to create a worksheet that has a grid where my son would record the words he rolled.

When my son got home from school, I wrote the words from the list plus one more (die have six sides and I only had 5 words) with a fine-tip dry-erase marker on the die. I also added the words across the top of the worksheet. 

Now all that was left to do was hand it over to my son.

Every time he rolled a word, he wrote it in the appropriate column. When any one column was completely full, he was done. Surprisingly the dry-erase words held up well, without much smearing.  

Download the die template and Roll & Write worksheet here.

My son had loads of fun with this and enjoyed predicting which word he would roll the most times. Whew! Now I can look his teacher in the eye!

Wednesday, September 28, 2011

Pretzel Rod "Log" Cabin

Have you ever noticed that those long pretzel rods kind of look like logs? I did and I couldn't let that little discovery be wasted. Knowing how my son loves building stuff out of LEGOs, Fisher-Price TRIO blocks, etc., I knew that this little construction project would be a big hit.

While he was at school I rescued a cardboard box from the recycling bin and cut it into a base, onto which we'd be gluing our logs (aka pretzel rods) to build a "log" cabin. Here are the dimensions I used (click on the picture to enlarge):
The only dimension that's truly important is the length of your log cabin's long sides. To save yourself the trouble of splitting your logs, it's easier to make this the same length of the pretzel rods.

You'll also want to cut another piece of cardboard the same length as your long walls (7 3/4 inches if you're using my measurements) or slightly longer by 4 or 5 inches wide for the roof. (You can cut this in two and tape back together or crease it heavily in half to make the roof.)

After school, I handed my son a book by Dana Meachen Rau about log cabins to read. Not only did he discover that log logs go on each side of the cabin with shorter logs used on the ends, but he also expanded his vocabulary learning words like "notches" and "shingles."

When we finished the book, I gave my son the cardboard and a small low-temp glue gun. After lecturing him that he needed to be careful, my son glued the small 2-inch flap to enclose the house. Then he peeled the backing off a green piece of felt and stuck it to a flat rectangle of cardboard I had leftover from the box I used. He glued around the bottom of the cardboard cabin and placed it on top of our "grass." Now it was time to get building.


While the traditional approach to log-cabin building requires that the logs be notched, we skipped that step and just got busy gluing the long pretzel rods up the side of our log cabin. When we did the short sides, he just broke the pieces to the approximate length. Be warned, there'll be LOADS of sawdust (aka crumbs) on the construction site.


If you like pretzels like we do, plan ahead and buy two bags of pretzel rods (we ate too many and ran out!). Get creative with what you shingle your roof with. I had plans to use Wheat Thins, but when I went to get them from the pantry, there were only five or six left in the box (apparently they make an even better snack than a roof). Instead we used rectangles cut from brown craft foam that we overlapped.

Since I knew the log cabin would get played with a lot, we didn't glue the roof down. Sure enough, as soon as we were done, my son was off to get some of his Imaginext figures and dinosaurs (which perplexed me) to play in and around the cabin.

As I tidied up, my son asked for some paper. Of course, I obliged. I nearly fell over when I saw what he did next: he wrote a story about the dinosaurs wanting to go in the cabin and the Imaginext dude hiding there!


That story made cleaning up all those crumbs and gluey strings worth it for sure!


Monday, September 26, 2011

Milk Chocolate Multiplication


Can a first-grader really do multiplication? I thought I’d find out. My son loves math, candy, and books so this activity was right up his alley.

If you recreate this activity with your child, you need three things:


#1 The Hershey’s Milk Chocolate Multiplication Book by Jerry Pallotta.


#2 A Hershey’s bar or two.

#3 The “Draw it, Count it, Multiply it” worksheet I made (download it here).


Pallotta’s book served as a great way to expose my son to an entirely new kind of math sentence, using rows of the candy bar’s sections to illustrate multiplication. After we’d finished the book, I opened our candy bar and asked my son what the multiplication problem would be: 3 (rows) x 4 (columns). Then he counted the sections for the answer: 12. I broke off some rows and we continued to identify the multiplication problem our now smaller candy bar provided us.


I’m not going to lie, we both ate a fair amount of chocolate doing this activity (MMMMmmmm).

After doing this for awhile, we flipped over the laminated worksheet I’d made. I used a fine-tip dry-erase marker to fill in the boxes at the top and asked him to make that number of squares across and down and complete all the boxes in between. When he’d done this I asked him to complete the multiplication sentence at the bottom of the page and reminded him about what he’d drawn (e.g. 3 rows of 5 squares equals how many squares altogether?). We did about 5 problems before quitting for the day.


TIP:  Avoid using a black dry-erase marker. Ours made it difficult to distinguish where the dots were and make the squares. After discovering this, we switched to a lighter color marker.

Even if it was a little advanced for a six-year-old, my son loved this introduction to multiplication (it wasn’t just the chocolate he enjoyed, I swear!). This is a skill we can easily build on and, by laminating the worksheet, we can just wipe it clean to practice over and over!

In the future, I think I'll use a die to help us decide which numbers to multiply. Since this is new to my son, keeping both numbers below six will work great.

Friday, September 23, 2011

United States BINGO Game

Just last week my son said to me, “Mom, I know all the news.” Before I could ask him what he was talking about, he rattled off, “New Hamster, New York, New Jersey, and New Mexico.” These kind of unsolicited comments make me smile. Why? 1) Because of his mispronunciation of New Hampshire. 2) Because he’s obviously interested in (and learning about) the states of our great country.

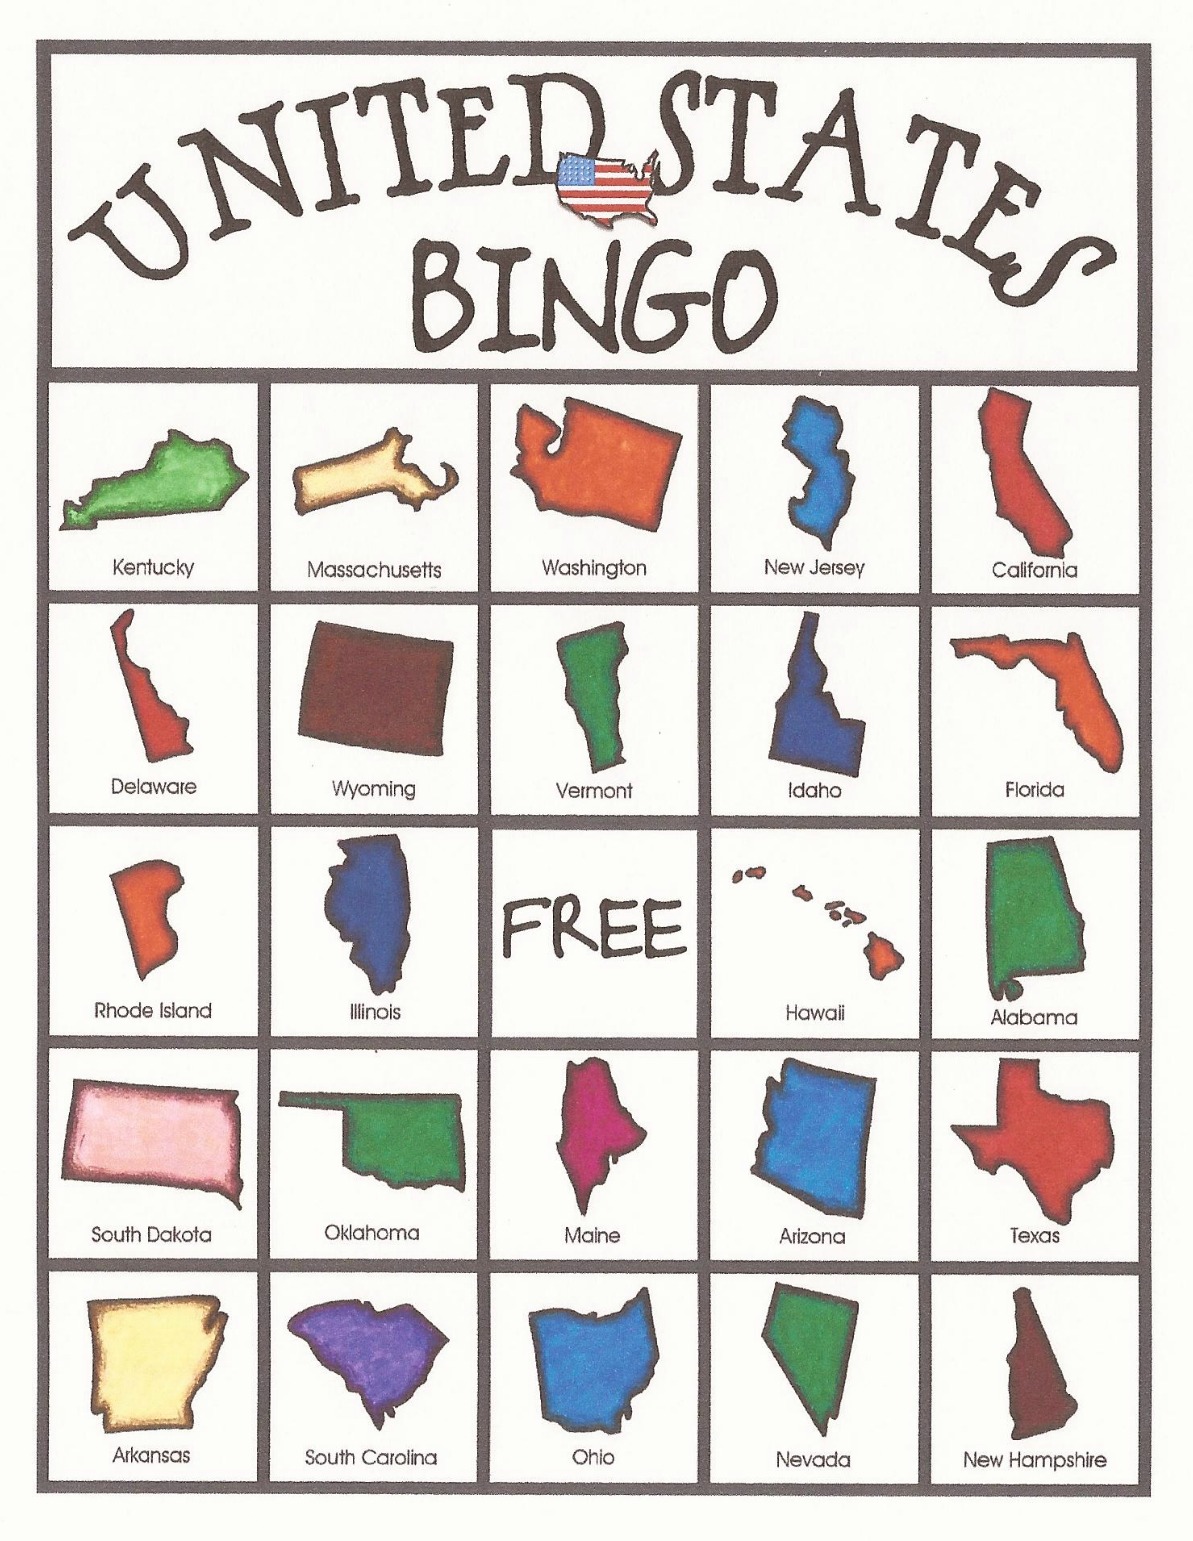
It’s been awhile since we pulled out our Scrambled States Memory Game and although I love it, I wanted to do something new with the states shapes I’d made. Since my son loves playing any BINGO game that I throw at him, I thought it was time to make a version with the states.

Before we got to playing, though, we read Loreen Leedy’s book, Celebrate the 50 States! I was lucky to snag this book at a yard sale and consider it one of the gems of our home library.


I let my son pick his BINGO card and cover the FREE space in the center. Then, one by one I selected a state from a pile of cut-up call cards. I called out the states, he searched his card, and, if he found it, covered it with a coin. Like typical BINGO games, when he had five in a row (across, down, or diagonal), he called out "BINGO!" rather excitedly. FUN! 


Until my son learns the states better, I’ll show him the call cards so he can see the color and shape of the state. Using coins as BINGO markers worked perfectly. Download a set of six game cards here and a PDF of all 50 states to cut up as call cards here. Enjoy!

Update: Want more than six game cards? Click here for my teacher's edition!

Wednesday, September 21, 2011

Making Bird & Butterfly Masks


Lately my 6-year-old son can’t get enough of the Kratt brothers’ animal adventures on the PBS show Wild Kratts. This animated show has taught my son a bounty of facts about animals such as the Draco Lizard, Kangaroo, and Large-Mouth Bass. His favorite episodes, though, have got to be the two that focused on the Monarch Butterfly and Peregrine Falcon.

To capitalize on my son’s interest in these two amazing creatures, I created some eye-mask templates for him to decorate. I printed these on white cardstock. To create holes for the eyes, I used my Martha Stewart Punch All Over the Page™ 1 ½-inch circle punch. If you don’t have a punch, the circles can simply be cut with scissors.

Download the following eye-mask templates here:


I bought an assortment of feathers at our local craft store (I couldn’t resist buying some bright ones as well as the more typical brown/grey/white packages). My son applied white school glue all over the mask and placed feathers atop the glue, being careful not to cover the eye holes. Then we glued a 1 ¼-inch strip of cardstock to the middle of the back of the mask above the eye holes; about a two-inch long line of glue will do.

Once the glue was dry, I trimmed excess feathers around the eye holes and nose area (my son said it kept tickling him) and stapled another 1 ¼-inch strip of cardstock to the other strip, measuring the distance around my son’s forehead to make the headband fit properly.

Little brother was dying to get in on the action when he saw his brother’s falcon mask. I folded the printed butterfly template in half and taped it down. I gave my 2-year-old some fingerpaints and encouraged him to unleash his inner artist. 


When he was done, I removed the tape, and folded the paper back in on itself so the mirror image of his painting would appear on the other wing of the butterfly. Then we let it dry.

Both boys then used watered-down craft acrylics to paint the monarch butterfly templates I printed. 

When the paint was dry, I used the generic butterfly template to draw circles on the back so I knew where to punch the eye holes out at. Then we attached the butterfly bodies, which were either painted in alternate colors or cut from construction paper. The googly eyes, pipecleaner antennae, and smile are optional. Let your child decide!

Simply glue on a 1 ¼-inch cardstock strip, stapling another strip to it once dried for added length and fit to your child’s head.


And then let your bird and butterfly girls and boys fly free!