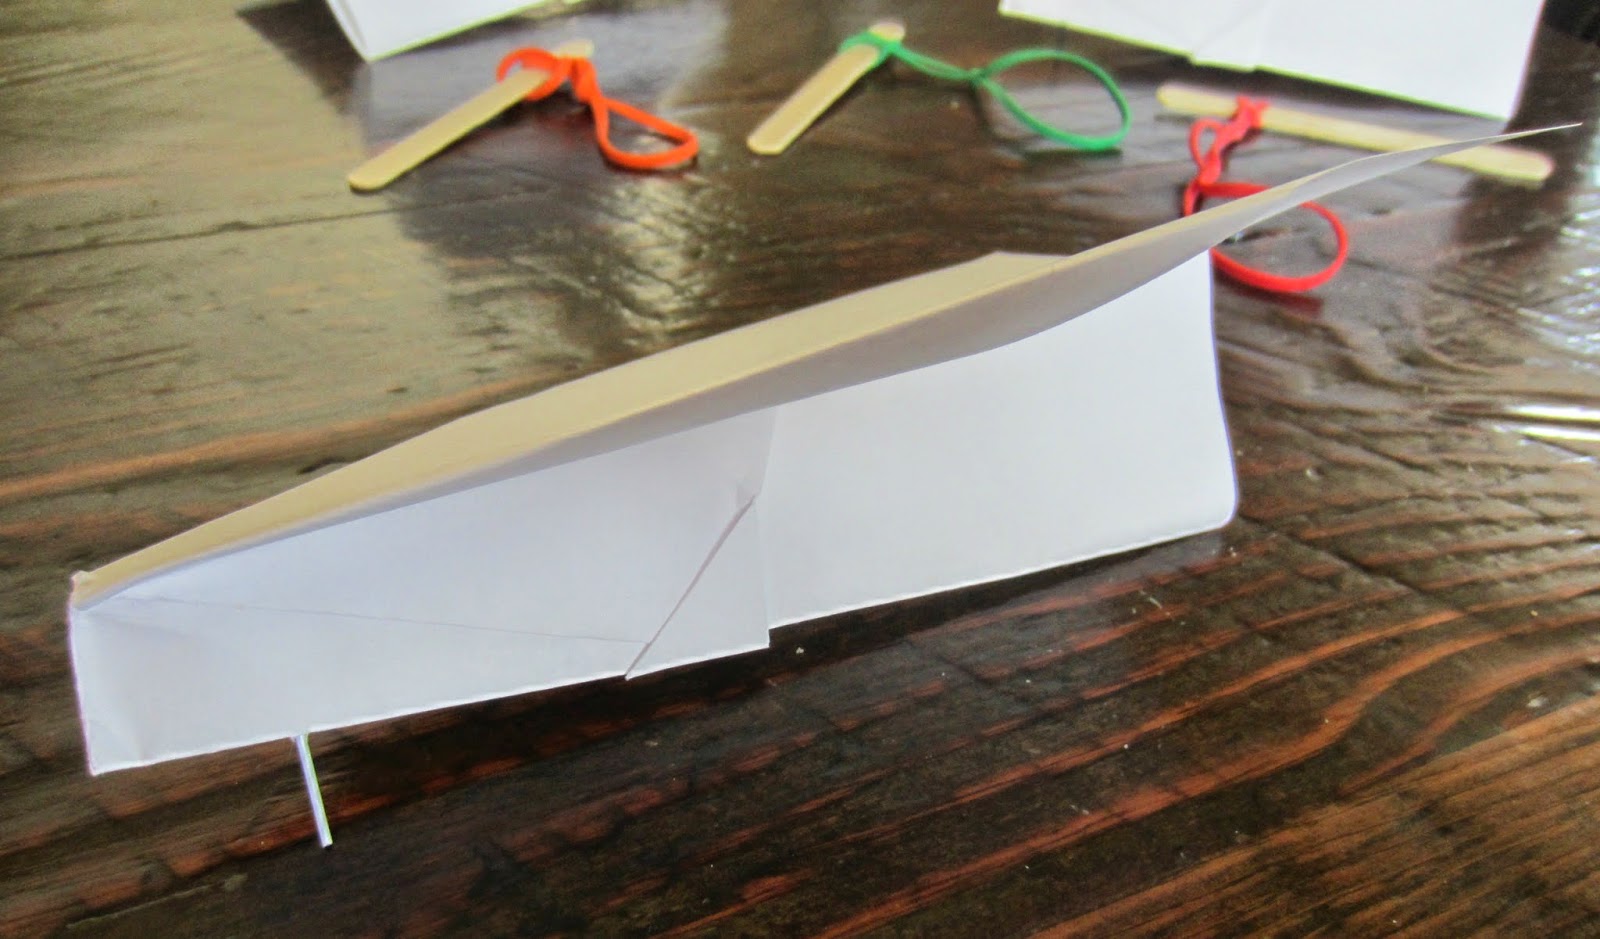
Paper airplanes have been a favorite with our oldest son
for ages (check out our airplane race here). But this time, I he was REALLY
psyched.
We made a launcher for our planes!
What you need
a piece of office paper
paperclip
2 rubberbands
1 wooden craft stick
hot glue
Here's how we did it.
The plane
Take a piece of 8 1/2 by 11 office-weight paper and fold
the long sides together (hot dog style, as my son would say), creasing in the
center.
Open it back up and bring in the top corners to the center
fold. Crease.
Fold over the top triangle and crease right where the
flaps ended.
Bring the sides in to the center about one inch above the
point.
Fold the inverted triangle, so it's tip is pointing up.
Fold it backwards on the center crease, so the folds are
on the outside.
Fold each wing back, creasing them at the point where the
paper goes from straight to angled.
To use the plane with a launcher, you need a paper clip.
Pull the long outside wire on the paper clip, so it forms
a 90-degree angle.
Poke the point of the paperclip, through the plane about
one inch back from the nose, along the center crease.
Add a dab of hot glue (parents, this is your part! That
glue is H-O-T!) to secure the paperclip in place and glue the center spine of
the airplane together.
The launcher
Grab two rubberbands. Thread one through the other, and
pull one end through the loop that is created to attach them together.
Now grab a wooden craft stick and lay it over one end of
the rubberband strands. Pull the other end through the loop that's created.
Voila!
How to launch the
plane
Hold one end of the wooden craft stick in your left hand.
Holding the plane in your right hand, hook the paperclip on the plane through
the end of the rubberband strand hanging off the craft stick. Pull back until
the rubberband is stretched. Let go to launch the plane. Yee-haw!


We have to try this - such fun!
ReplyDelete