Monday, November 25, 2013

After School Linky Party (11-25)

Welcome to the After School Linky!


Here are a few of my favorite activities and ideas from last week's party,
along with some round ups I thought you'd love.
(Why? Because I do!!)

Learning about Leaves at Trillium Montessori.


FREE PRINTABLES


GIFT GUIDES

We would love to have you link up your School-Age Post (Ages 5 and up) about your learning week after school including Crafts, Activities, Playtime and Adventures that you are doing to enrich your children's lives after their day at school, homeschool, or on the weekend! When linking up, please take a moment to comment on at least one post linked up before yours and grab our after school button to include a link on your post or site! By linking up you're giving permission for us to share on our After School Pinterest Board or Feature on our After School Party next week! Don't forget to follow along and join our After School Enrichment Community.


Wednesday, November 20, 2013

Dice Roll Match-Up (Division and Letters)


Two sheets of sticker paper and one bag of 3/4-inch wood blocks for $3.99: That's all this little game requires. Sometimes the simplest and cheapest games are the most fun.

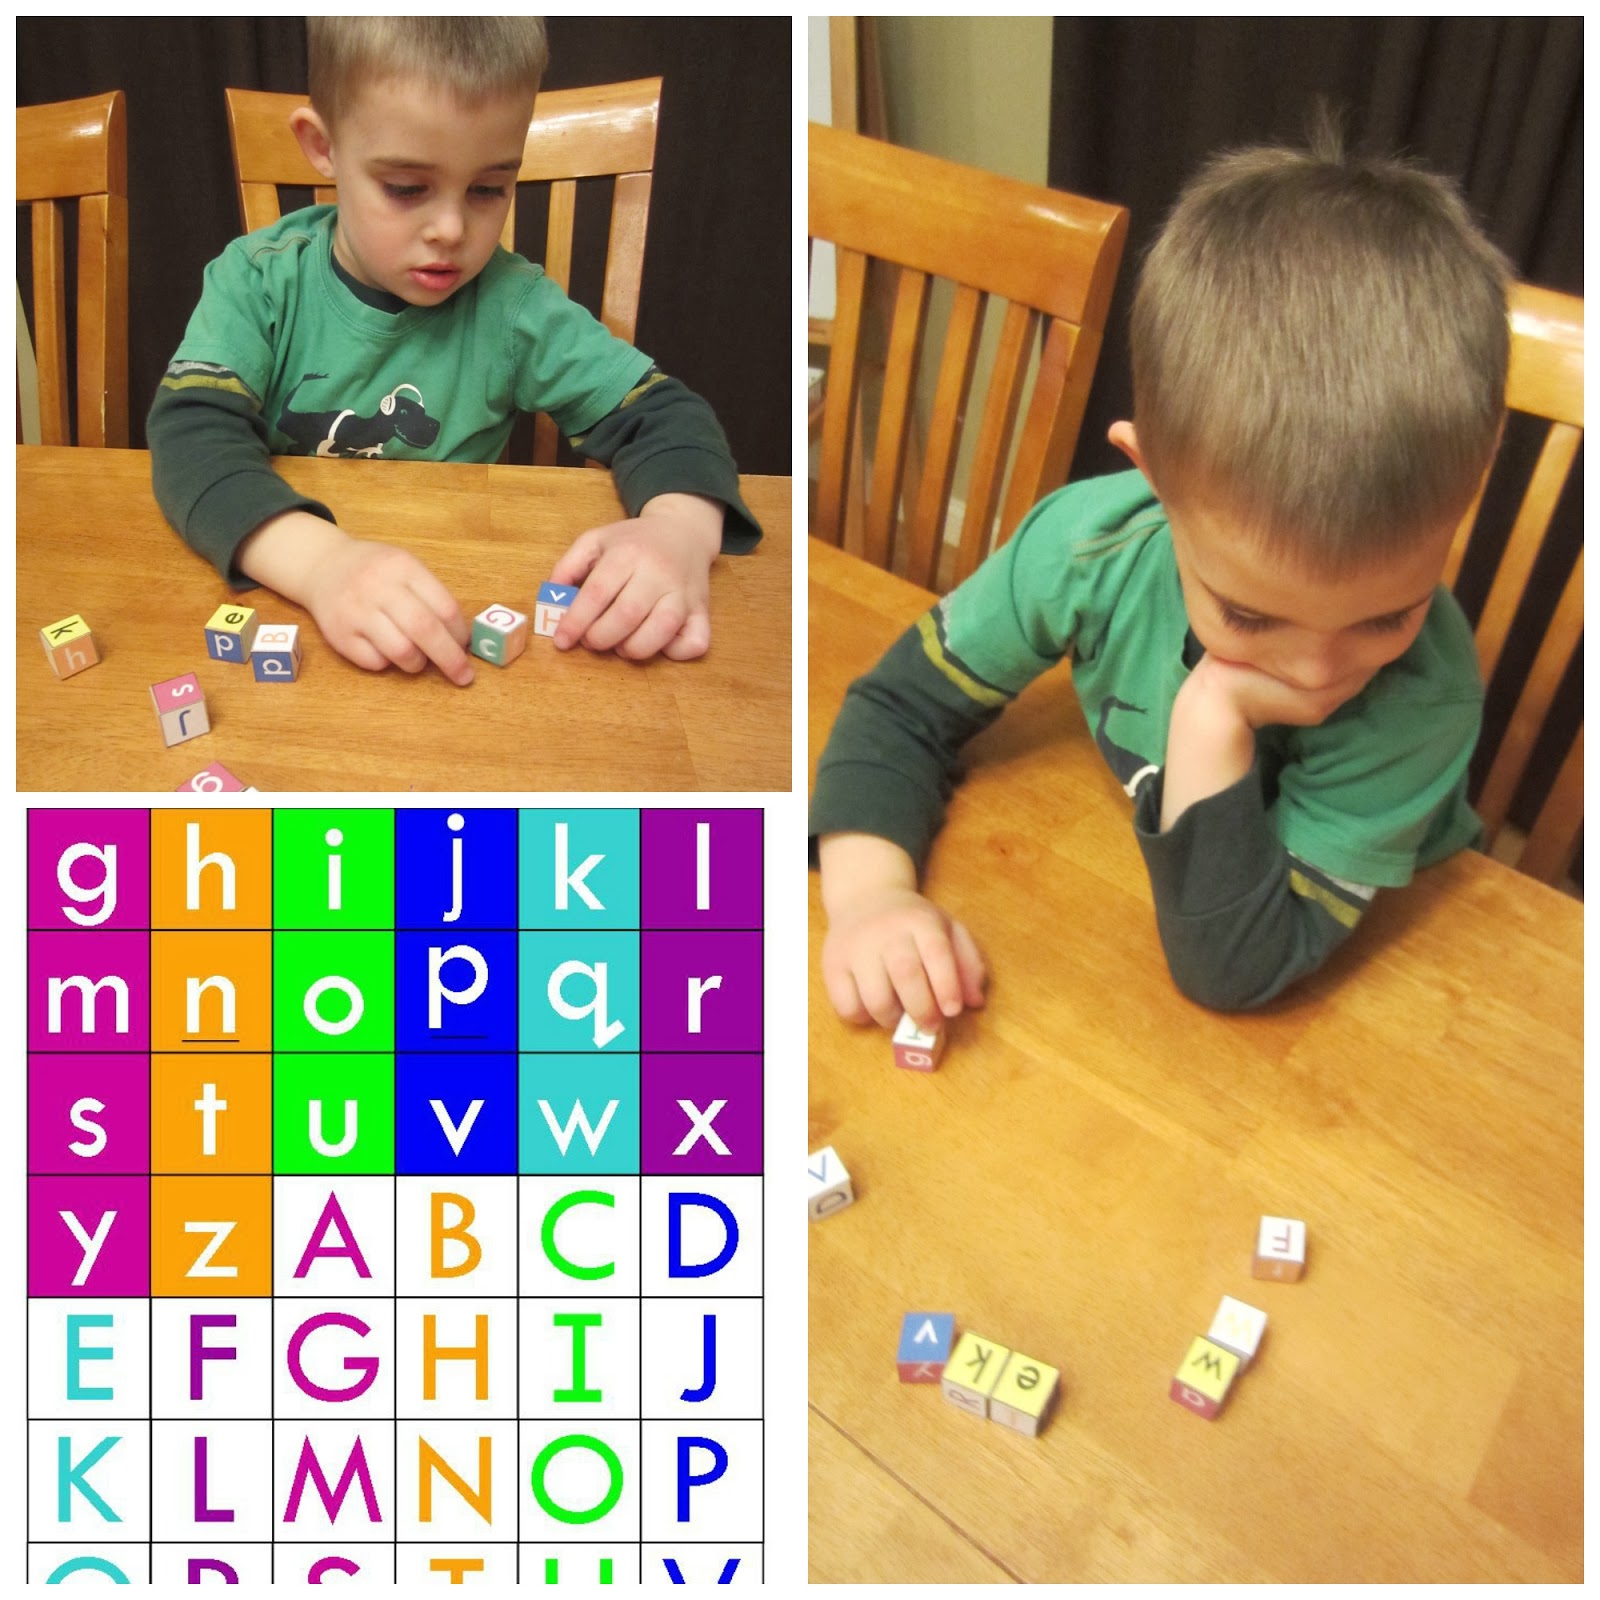
I made two versions for my boys with nine dice each - to practice division with my 3rd grader and letter recognition with my preschool-aged son.

Division Dice Roll Match-Up
Once the PDF was printed, squares cut, sticker paper tediously peeled and stuck to the die, we were ready to play. On the nine dice are the numbers 1 through 10. The remaining sides of the die have division equations. Two additional symbols - a star and smile - are also represented.

My son rolled all the dice. Then he looked first for the numerals (the answers). Did he have any equations with the numerals rolled as answers (e.g. if he rolled a 3, he'd studied the division problems looking for any, such as 12 divided by 4). The number of problems he could solve with the numerals he rolled was his score.

If he also rolled a star, he got an extra point.

If he rolled a smile, he could double his score (so if he'd made two equations, his score was four).

We took turns rolling and solving problems. If either of us missed an equation that had an answer rolled, we got a point during our opponent's turn.


We played for 10 minutes. Because a big part of winning is luck, even parents and older siblings will enjoy playing along!


Letter Dice Roll Match-Up
For my four year old, the game was about matching upper and lower case letters. This is still a struggle for my little guy, so I let him play his way - finding the letters he remembered and turning the dice to look for their upper or lower case counterpart.


I can't wait to keep playing with him as his familiarity grows and letter recognition improves. We'll eventually be able to keep score too, which will only improve his counting!

Download a free two-page PDF with the labels I used (page 1 = letters; page 2 = division) here.


Toss these die in a snack-sized ziploc and throw it in your purse. This little game would be great to play while waiting for your order next time you're out to eat!

Monday, November 18, 2013

After School Linky Party (11-18)


Welcome to the After School Linky!


Keep the great ideas coming! I love getting inspiration and ideas from all the amazing bloggers that link up! Here are some of my favorite posts shared at last week's party.


We would love to have you link up your School-Age Post (Ages 5 and up) about your learning week after school including Crafts, Activities, Playtime and Adventures that you are doing to enrich your children's lives after their day at school, homeschool, or on the weekend! When linking up, please take a moment to comment on at least one post linked up before yours and grab our after school button to include a link on your post or site! By linking up you're giving permission for us to share on our After School Pinterest Board or Feature on our After School Party next week! Don't forget to follow along and join our After School Enrichment Community.


Friday, November 15, 2013

How Does Your Garden Grow? [Coordinate Mapping Game)


It's been awhile since we practiced map skills. I figured we'd revisit them, this time using coordinates on an X and Y axis for a fun game of luck.

The "How Does Your Garden Grow?" game is just as fun for one player, as it is for many. Since I wanted to be my son's opponent, I printed two of the game boards I'd made, one for each of us. 

After I attached the two pieces of the board together, I glued the cut-out vegetable game pieces onto small wooden disks I picked up at our local craft store. With a die (or two, if you prefer) we were set. 

Download a free 2-page PDF of the game board and game pieces here.

My son and I each placed our set of veggies on the intersections of the lines or the upper and far right perimeter of the board, along the grid lines.

Since we planned to play for about six or seven minutes, I set our kitchen timer.

Now my son rolled the die. The first number rolled was for the X axis (the horizontal plane, along the bottom of the garden grid), and the second number rolled on the die was located on the Y axis (or vertical plane). 


With the two numbers located, we looked to see where they intersected and if any of our veggies were there. If so, the game piece was removed from the game board.


You can, of course, say that the rabbits ate your carrots or the bugs infested your tomatoes. Feel free to add your own backstory.

When the timer went off, we counted our veggies. Since some (green beans) have larger quantities, the winner isn't necessarily the person with the most game pieces still on the garden game board when play is over. This snuck some mental addition in to this game of chance.


This is a quick game to play and could easily be made into a travel version for the car or while at a restaurant!!

Wednesday, November 13, 2013

File Folder Phonics and Letters


Learning letters has been a challenge for my little guy and while he's getting a fair amount of practice in preschool, it just isn't sticking.

Since I think it's equally important for kids to recognize the letters as it is to begin to associate the sounds they make with them, I decided we'd do a little extra work at home.

My mom, a retired elementary school teacher, supplied the idea for this genius file folder game. It's geared toward kindergarteners, but with some assistance can be ideal for PreK application too.

Before we got busy playing our "letters game," my son watched a great phonics DVD from Leap Frog. I'd recommend this for kids ages as young as two and as old as six.


This great file folder game is perfect for reviewing two letters and their sounds at a time. Kids have to decide which shapes contain pictures of objects that begin with a particular letter. It's simple and smart and SO helpful.


Download FREE from Google Drive:

Construction Option #1: 13 file folders
You'll need 13 file folders, 26 sheets of sticker paper (or office paper and glue), 26 sheets of heavyweight cardstock, and sticky-backed velcro. On the A-M file, print the odd numbered pages on cardstock and the even pages on sticker paper. On the N-Z file, do the same, but do not print page 23 (it's blank and you won't need it).

Now cut the letters and all the shapes from the sticker paper pages (or if the pages fit on your file folder, simply peel and stick the entire page, one page per side). Each file folder will have two letters. You can pick and choose whether you put the letters in alpha order (e.g. your folder could have A and B or O and T). Some phonics programs mix the letters, so feel free to do the same.


Now cut out the cardstock shapes and adhere velcro to the back and to the corresponding shape on the file folder.

Construction Option #2: 1 file folder
You'll need 1 file folder, 2 sheets of sticker paper (or office paper and glue), access to lamination, 26 sheets of heavyweight cardstock, and sticky-backed velco.

Print two copies of page 23 on the N-Z PDF file onto sticker paper. Either cut everything out, or if it fits, simply peel and stick to each side of the file folder. Laminate the folder. Now print the odd number pages on the A-M and N-Z PDF file (with the exception of page 23 which you already printed) onto cardstock. Cut out. Attach sticky-back velcro: 10 pieces of the fuzzy side to the shapes on the laminated folder and the hook side of velcro to each of the cardstock shapes.

Write the letters (upper and lower case) on the folder in the handwriting box using dry-erase marker.

To Use:
Give the child one folder and the shapes that correspond to each of the two letters inside. (I put the shapes in an envelope in the folder, which could be velcroed to the folder for storage.)

Remind the child what the letters are and the sounds they make. Have them determine where the shapes belong and attach them. For example, on and A-B folder, the child will have to determine if the apple in the yellow circle or the  baby in the yellow circle belongs on the A side of the folder; "Does it make the aw sound or the ba sound?"


My son really surprised me with this. I'm looking forward to making more of these folders for him.

To keep the letter/phonics work going, we read K is for Kissing a Cool Kangaroo. This book is a lot of fun for kids who can challenge themselves to find all the objects pictured that start with the letter noted in the text.